Building a Simulation
Follow these instructions to build your first simulation.
1. Access the Main Site
First, access the main site at SWARM.
If you haven’t already, sign up for an account and make sure that you are signed in.
2. Agree to the Terms of Service
Click “I Agree” at the bottom of the page after reading the provided document. You will be redirected to the Dashboard afterwards.
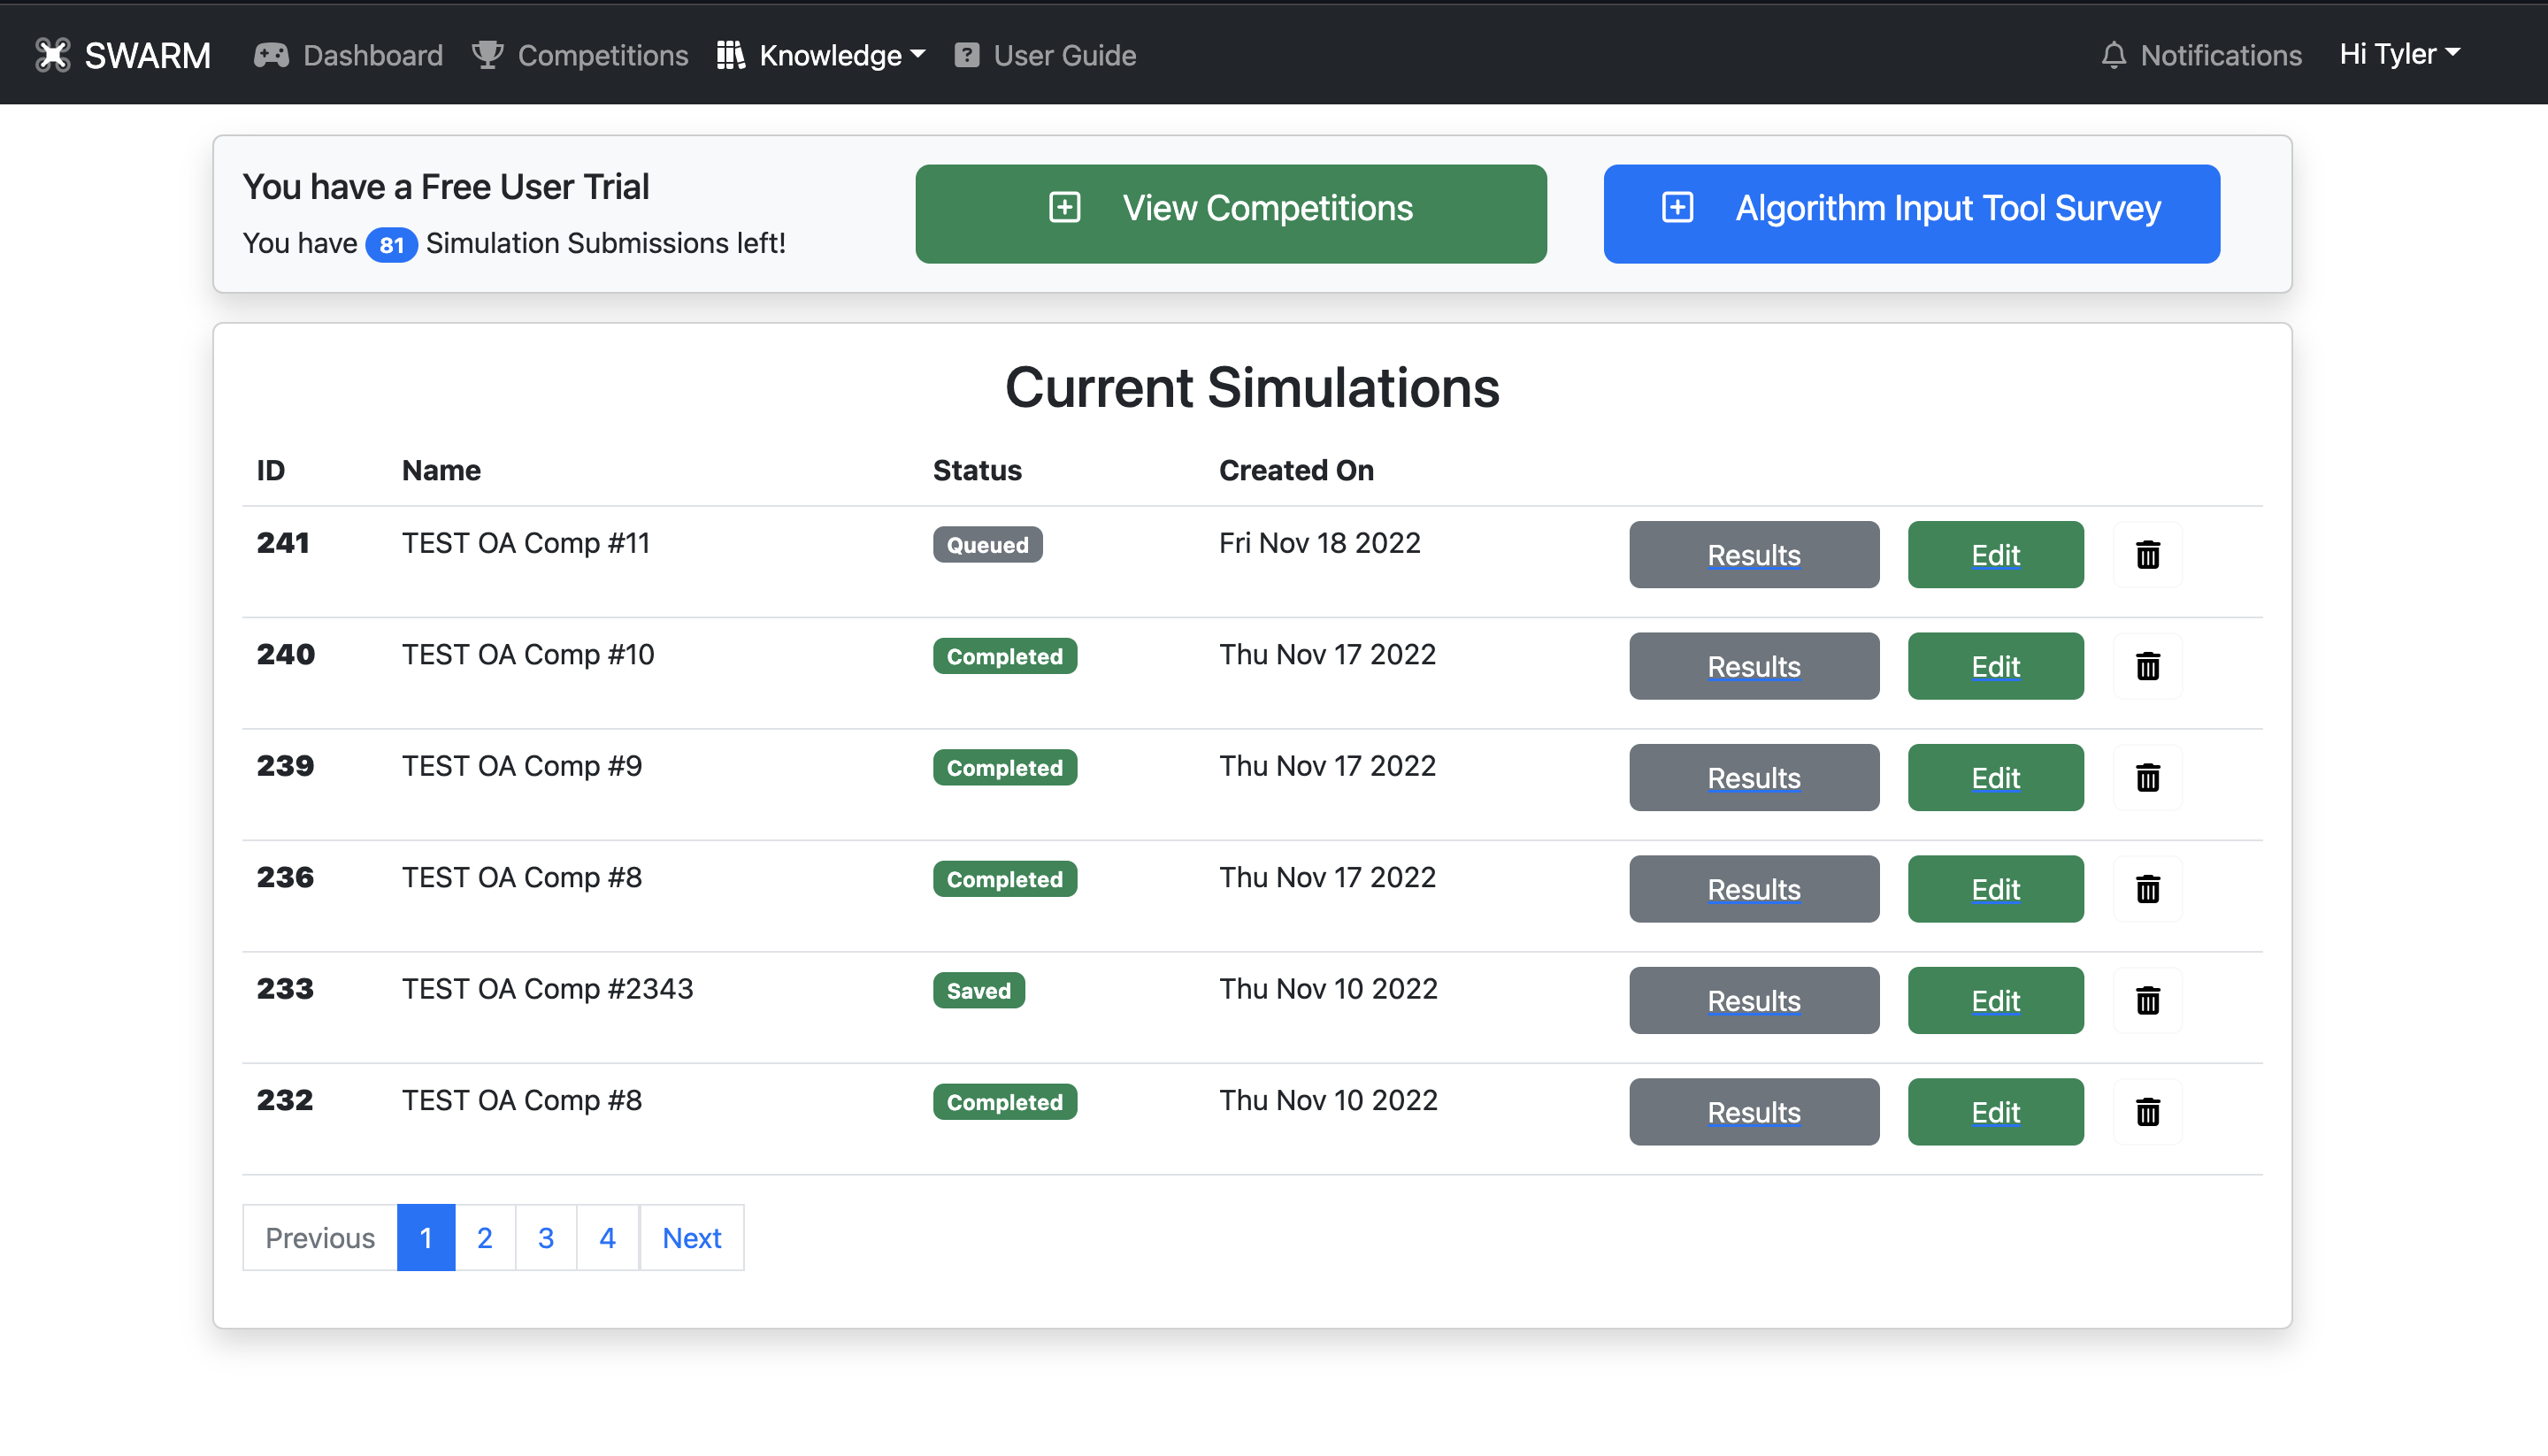
3. Navigate to the dashboard
Navigate to the Simulation Dashbaord by using the top navigation bar menu Dashboard if you don’t see the following.
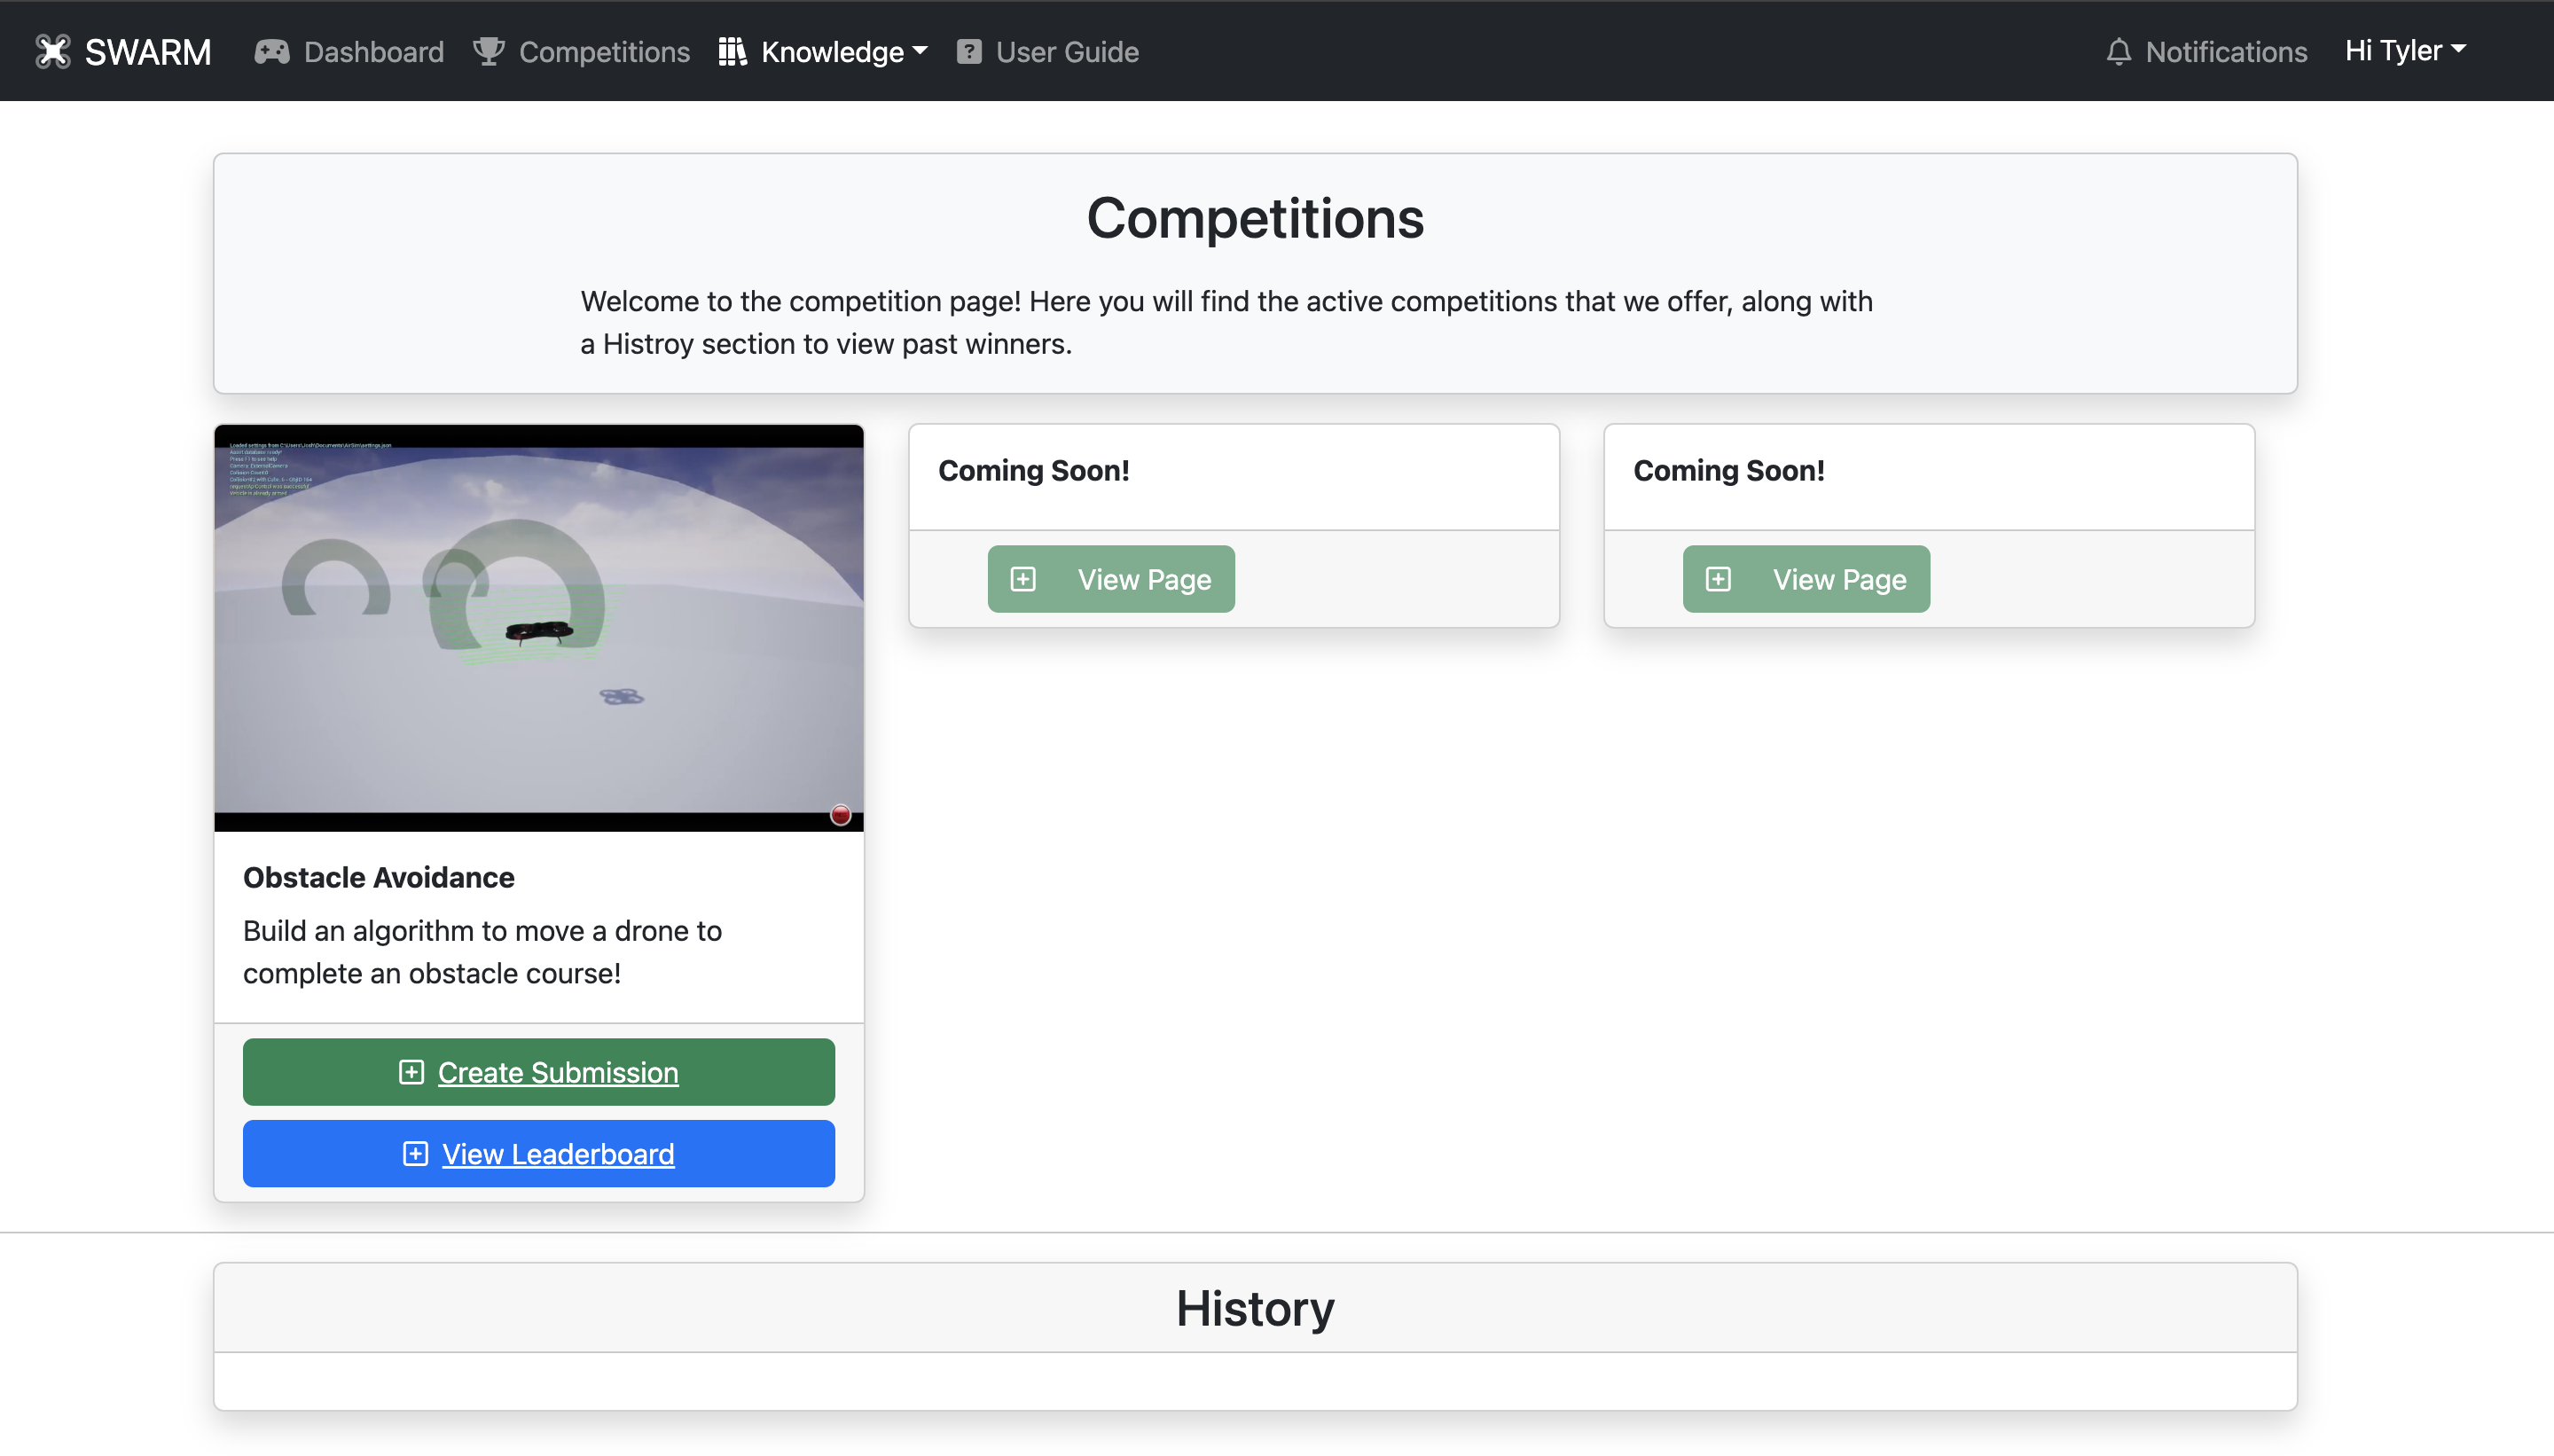
4. View the Competition Overview
Once on the Simulation dashboard, click the green button at the top that says View Competitions.
5. Create a new submission
Click the green button that says “Create Submission” in the container that says Obstacle Avoidance. See the image below.
6. Competition Overview
Read the evaluation criteria and then click the “Next” button at the bottom when ready.
- Note: This is meant as a brief overview. For more information about the individual agents, please see SWARM Infrastructure.
7. Set Up Your AGent
Next, you can view the agent you will be provided during the simulation.
To edit the LiDAR parameters, click the green “Edit” button in the top right corner of the box.
Here you can edit the parameters:
- LiDAR Vertical FOV Upper Limit - the upper vertical limit of the LiDAR sensor above the vehicle.
- LiDAR Vertical FOV Lower Limit - the lower vertical limit of the LiDAR sensor below the vehicle.
- LiDAR Horizontal FOV Left Limit - The horizontal limit, viewed as if you are looking in the same direction as the agent. to the left of the vehicle.
- LiDAR Horizontal FOV Right Limit - The horizontal limit, viewed as if you are looking in the same direction a vehicle.
- LiDAR Point Coordinate Frame - The coordinate frame you want the LiDAR points to be given as. VehicleInertialFrame means that points will be given as "world" coordiantes. SensorLocalFrame means that the the points will be given as relative to the vehicle's position.
Once selected, click Save to move on to the next page.

When you are ready, click the blue “Next” button at the bottom.
7. Input your algorithm
Here, you will now tell the agent what to do when an obstalce is present.
First, you have two options:
- You can create your own algorithm.
- You can use an algorithm that we have created.
Note The algorithm provided may or may not be able to complete the course. This is to show a simple example of the submission process.
7.a Create Your Own
Here, you will given an input box to write Python code. You will see that an initial function has been written for you called avoid that takes 5 parameters.

First, DO NOT change the function name or any of the inputs. You will validate that your algorithm is capable of running before submitting your algorithm.
You can view what all of the inputs are by clicking the “Show Explanation”. An in-depth look at the LiDAR sensor and how to use the outputs is available at TODO.
Enter your code and then click “Validate” to validate your algorithm. This executes your code with an example point cloud and vehicle position, ensuring your code is free of mistakes or syntax errors. Please note that this does not mean your algorithm is correct or will work appropriately to complete the competition.
If there are errors, you will be notified of them. Correct any errors listed and click “Validate” until you are successful.
Then click “Next”.
7.b Use A Pre-Built Algorithm
Here, you can choose a pre-built algorithm. This algorithm is internal to the SWARM Platform but will be available for
viewing the source code at the SWARM Simulation Firmware repository at TODO. To see an overview of any of the algorithms,
go to Algorithms Overview.
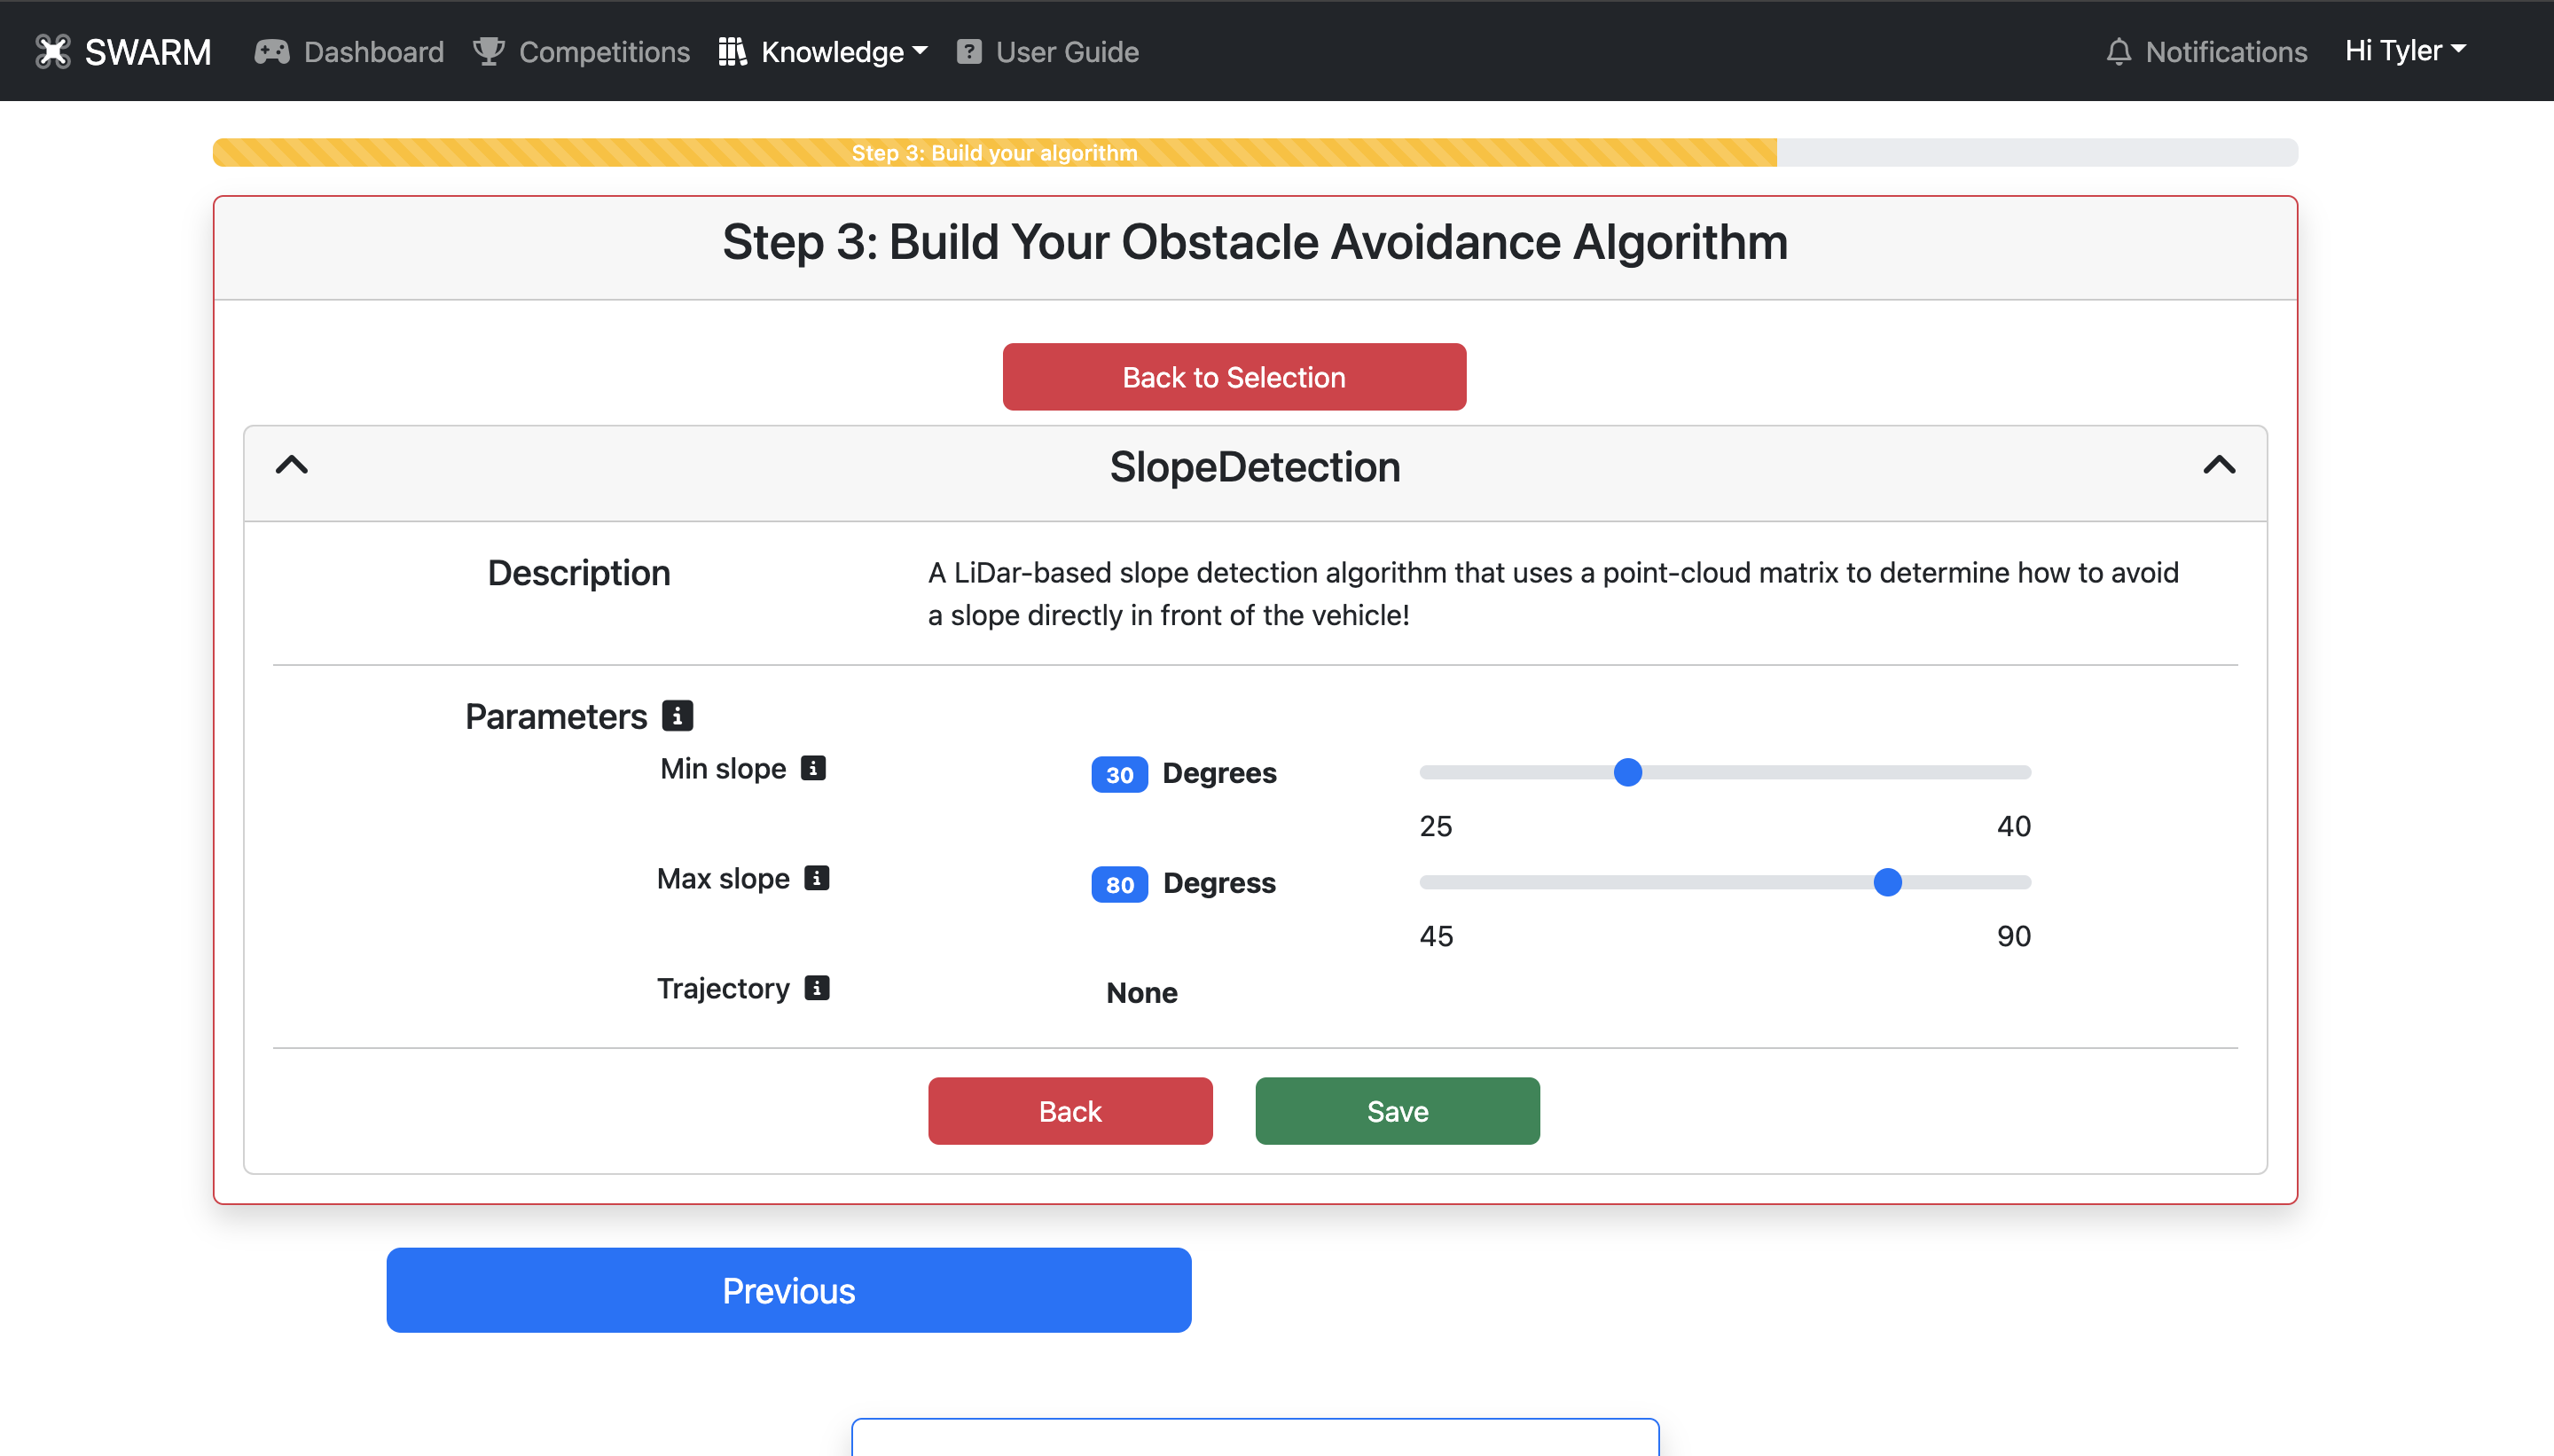
You can select the different parameters for the algorithm that was selected. Click “Save” when finished.
You will be automatically directed to the next page.
8. Set Your Simulation Options
First, name your simulation something unique.
Then, set whether you want to record a video. Note: If you submit a competition submission, a video is automatically recorded.
Next, set the runtime of your algorithm. Initially, you are given 10 minutes, which is much longer then should be required. You can reduce this if you are simply testing out a piece of your solution.
Now, you have three options:
- Submit to the Competition - This creates a competition submission that is tracked on the leaderboard and validated by our staff. You will be notified of your position in the competition once it has been verified.
- Run Your Algorithm - You can test your algorithm with an example set of maps that will allow you to ensure your algorithm is working properly.
- Save Your Algorithm - Save your algorithm for later.

9. Post Submission
Once submitted, you will receive emails and notifiations about the status. Once you see that the simulation has been completed, you will be able to view the data analysis section.
10. View Your Results
Once completed, you will be notified by email. You can then view the Results from the Dashboard, where you can view the videos recorded, your score and the full outputs.
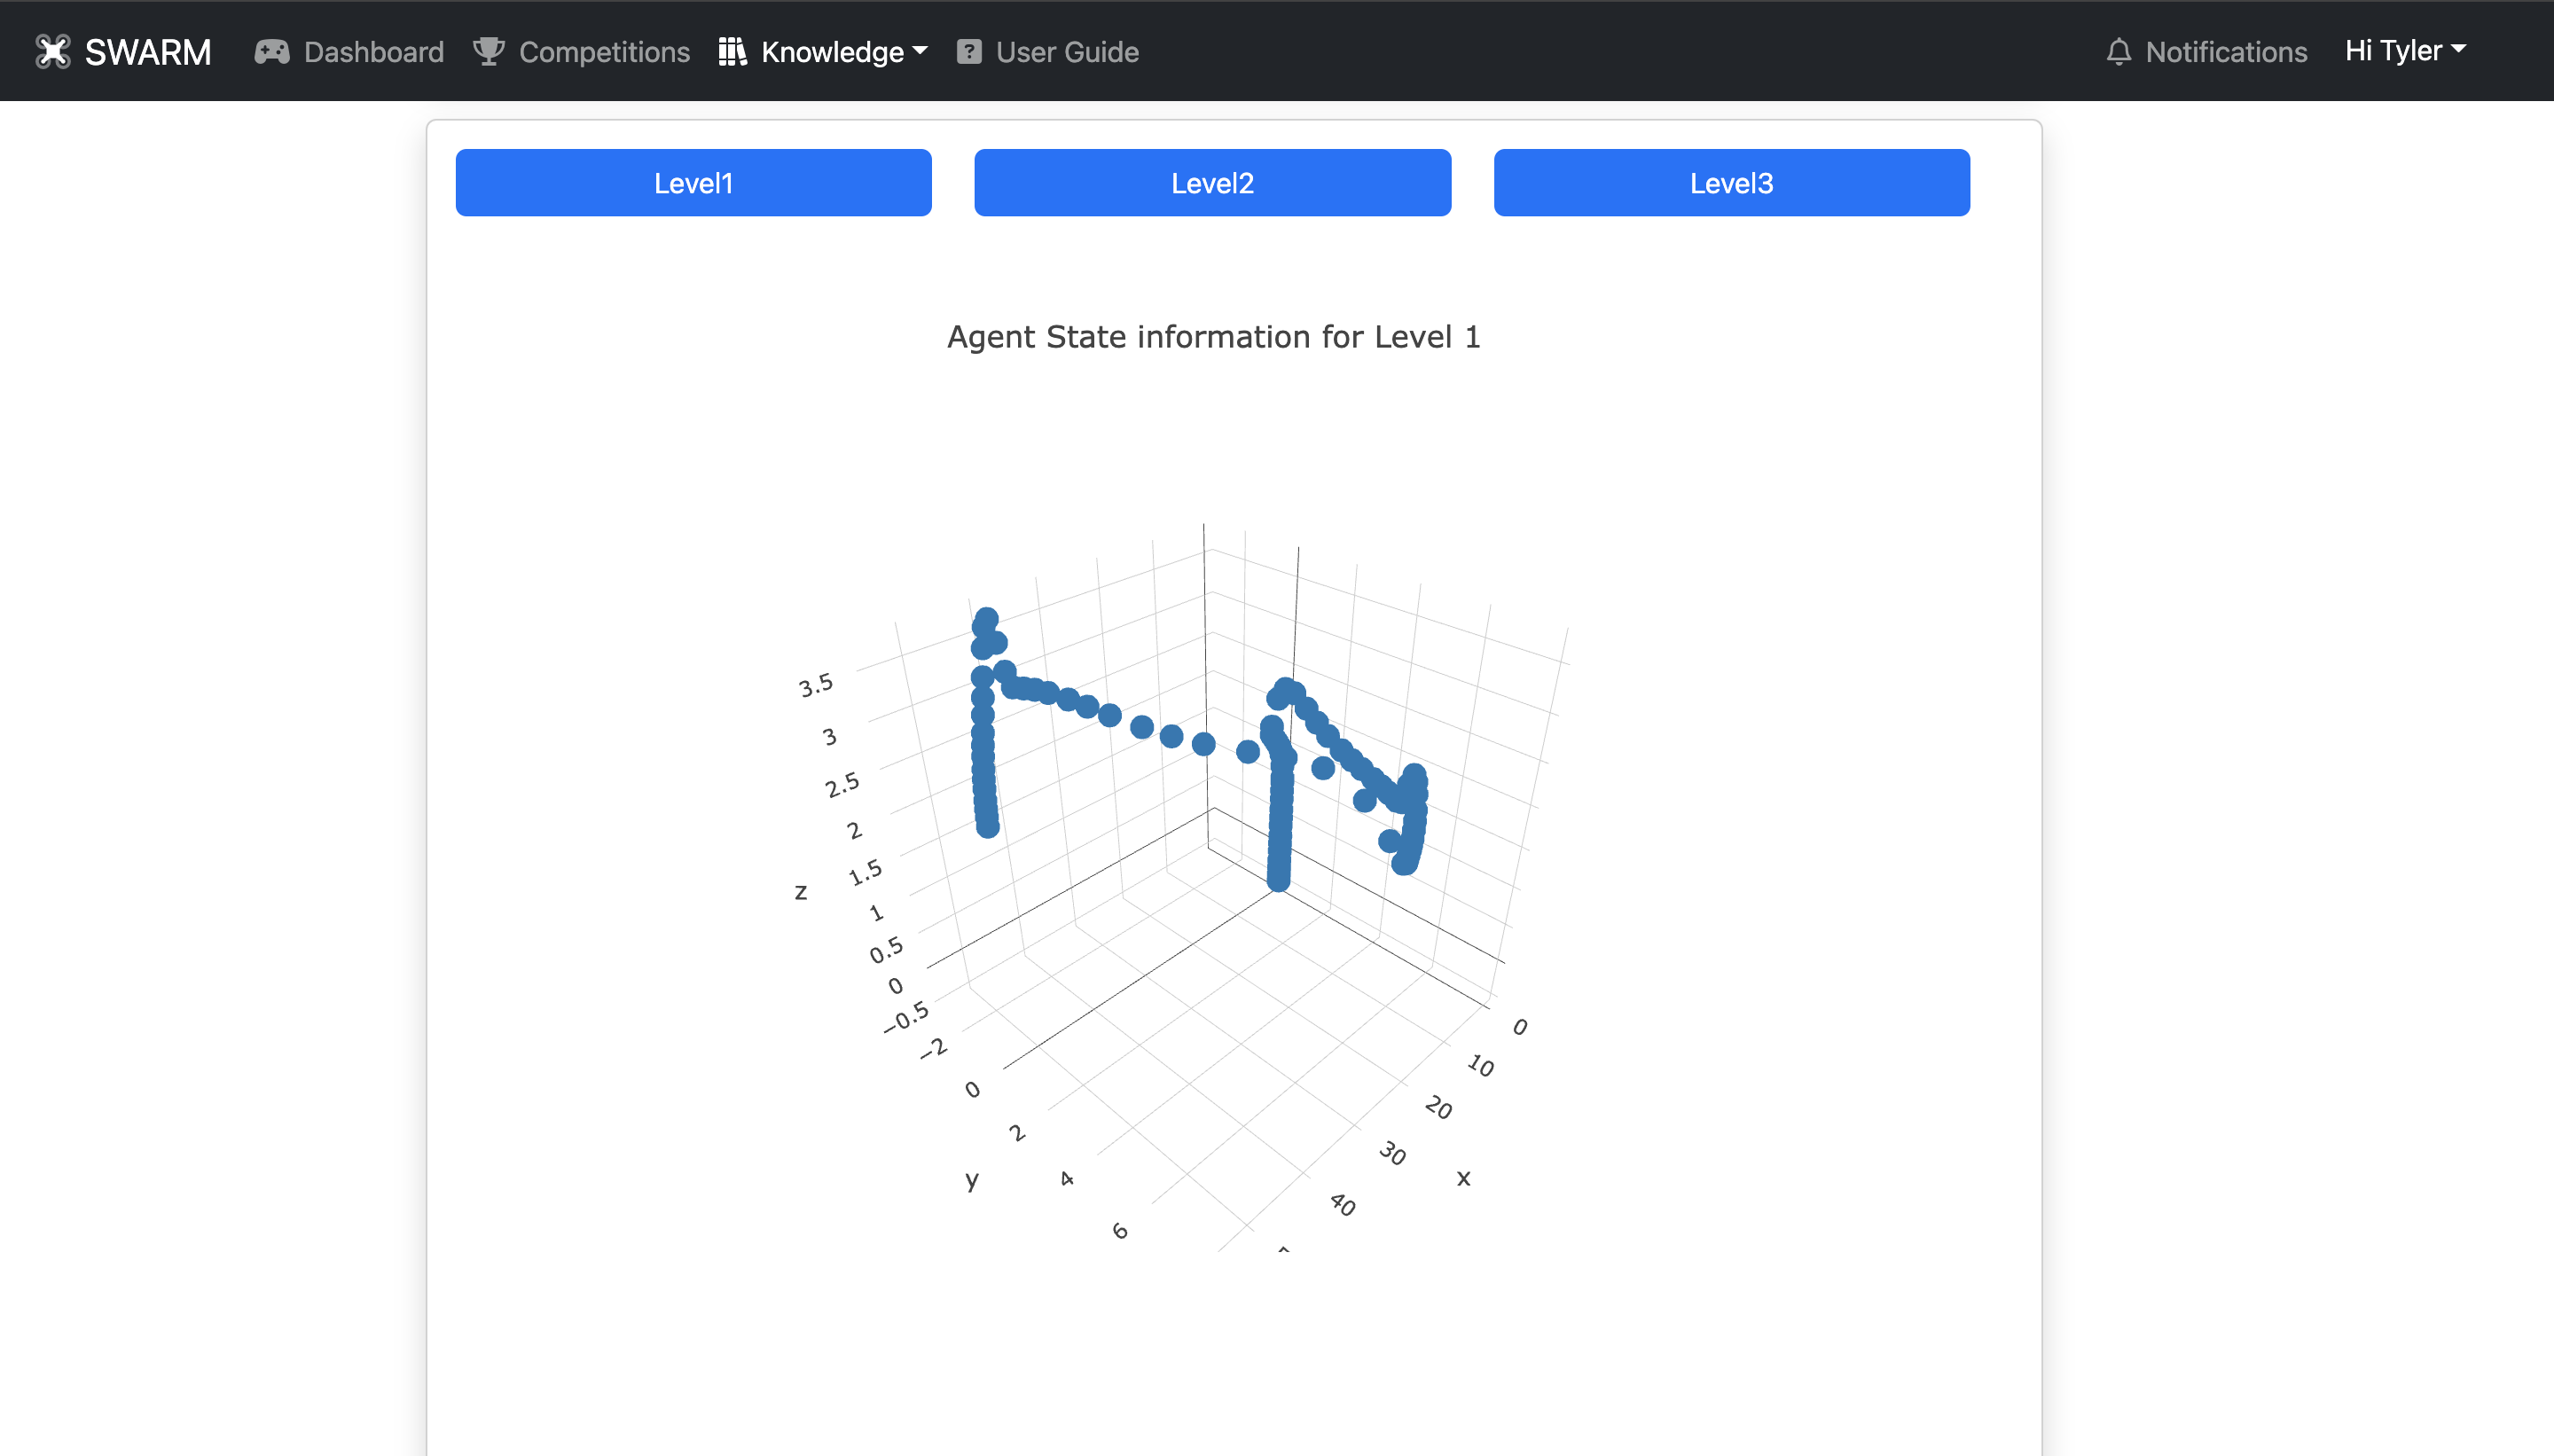
10.1 Videos and Positions
These are graphs of the levels completed and videos recorded.

10.2 Raw Log Files
These are parsed log files from the data recorded system that you can download.
