These brief instructions will help you get started with the simulator. The other topics in this help provide additional information and detail about working with other aspects of this platform.
Getting Started
Welcome to the SWARM Developer System!0. Prepare your environment
Please follow the guide for setting up your development environment in Environment Setup1. Start a SWARM RDS Server by Signing up for an account
We have a number of servers readily available on Amazon Web Services (AWS). To get started, you will need to create an account at (www.swarmsim.io)[https://www.swarmsim.io].2. Start the Server
Once you have logged in, you will see a green button on the dashboard at the bottom of the screen that says: "Cloud Server Manager".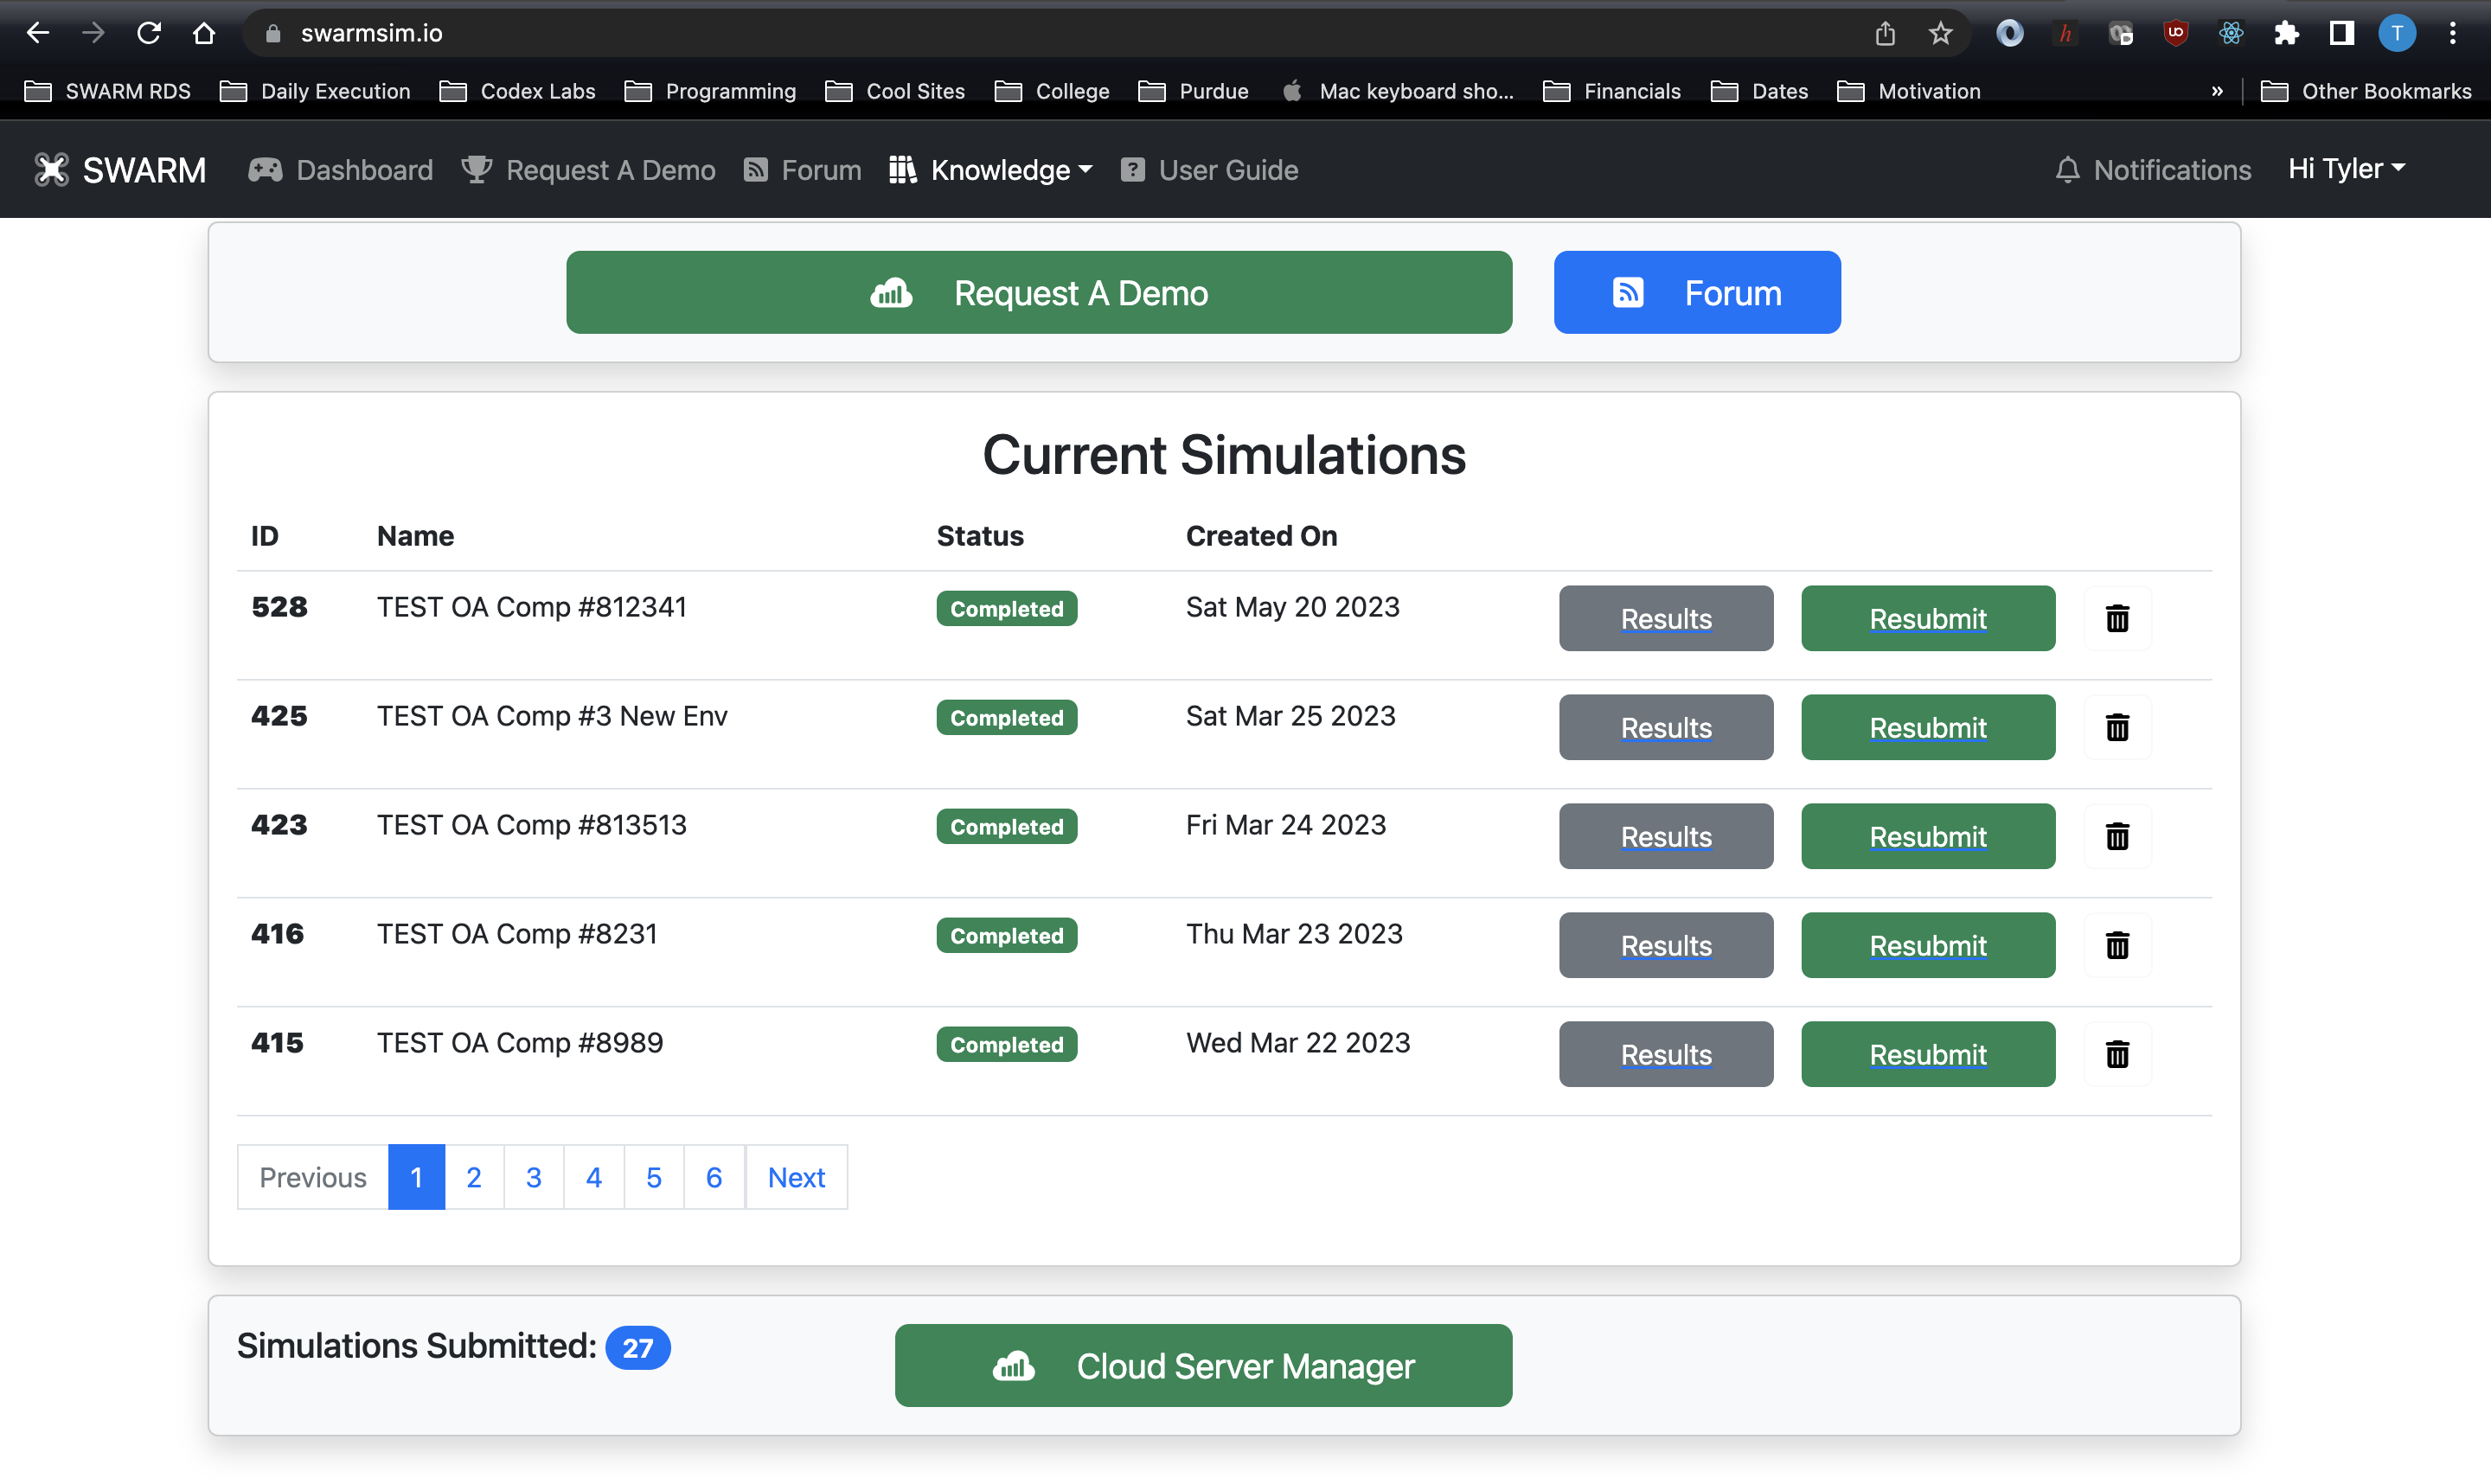 Click that button and you will be taken to the main server management page.
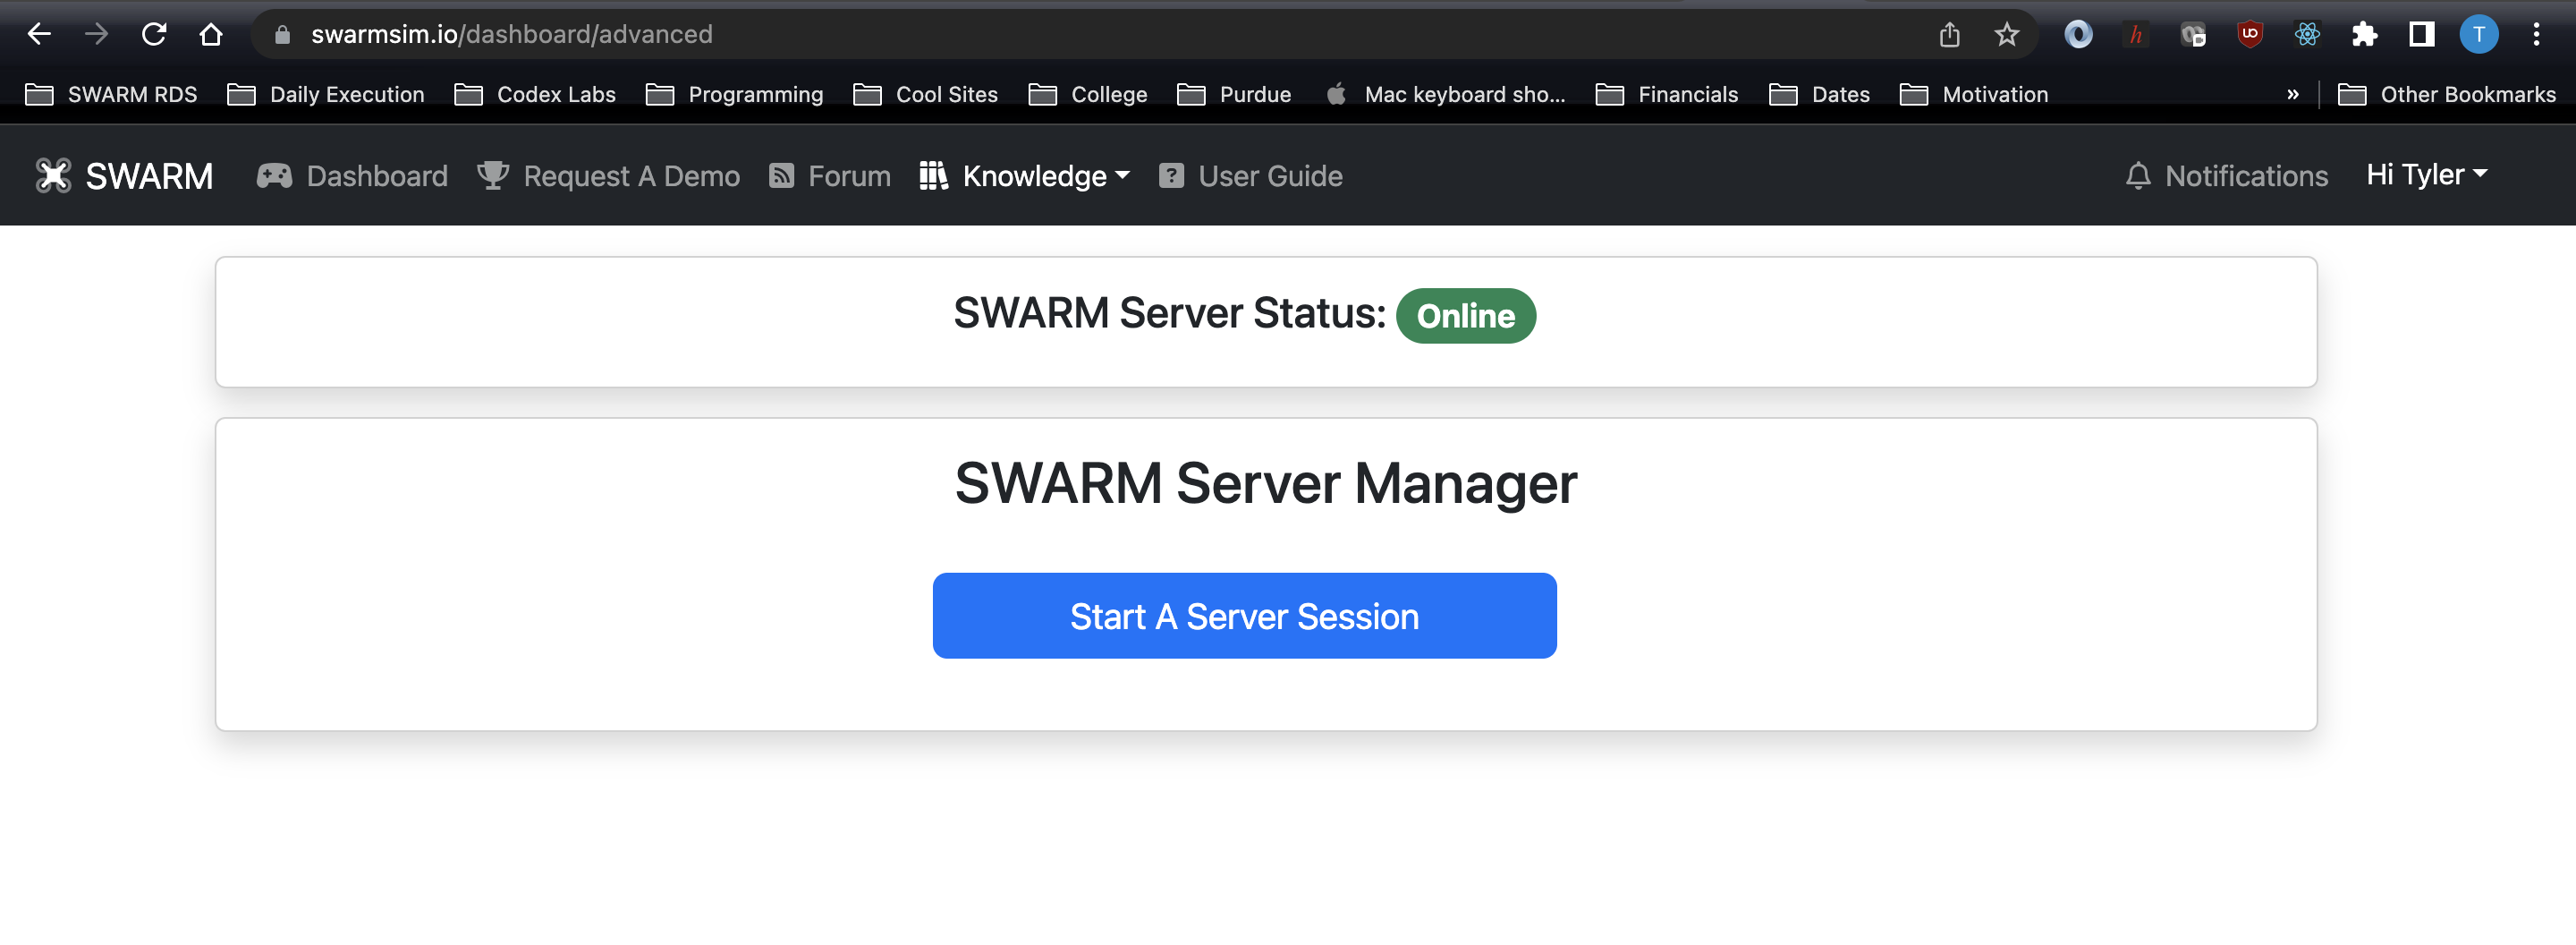 Next, you will be able to select an environemnt to deploy and request a server. The process takes between 30 seconds and 1 minute to start.
You will then see the following screen, providing an IP address of the server to use in the following steps.
Next, you will be able to select an environemnt to deploy and request a server. The process takes between 30 seconds and 1 minute to start.
You will then see the following screen, providing an IP address of the server to use in the following steps.
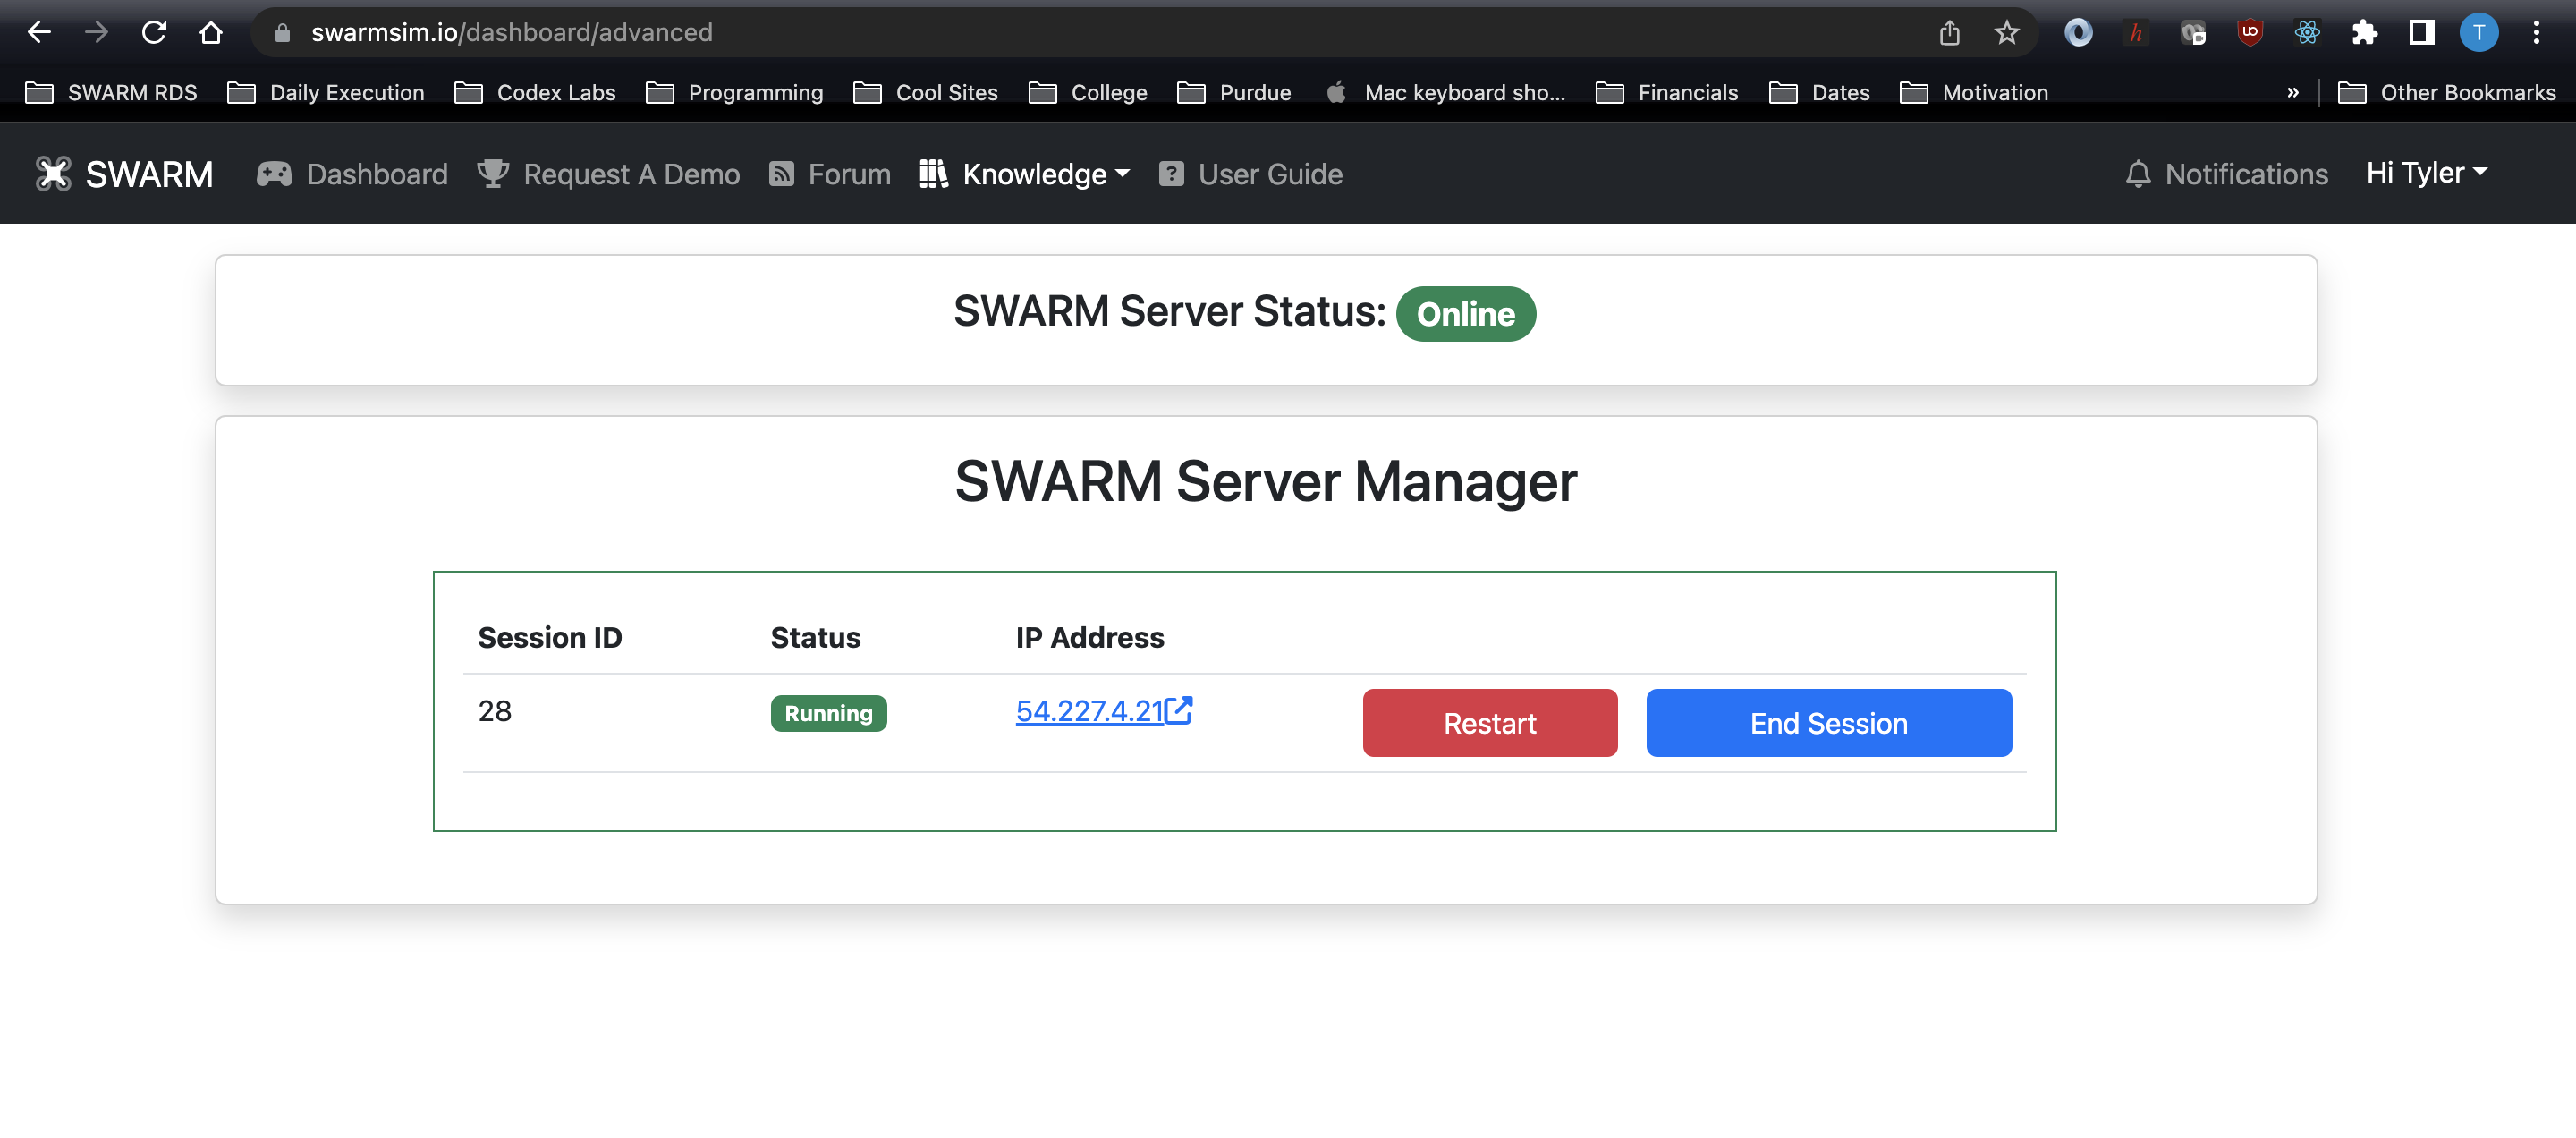 You can restart the system and turn it off when you are finished. If you do not submit a Simulation for an hour,
the system will automatically turn off.
You can restart the system and turn it off when you are finished. If you do not submit a Simulation for an hour,
the system will automatically turn off.
3. Install Your License Key
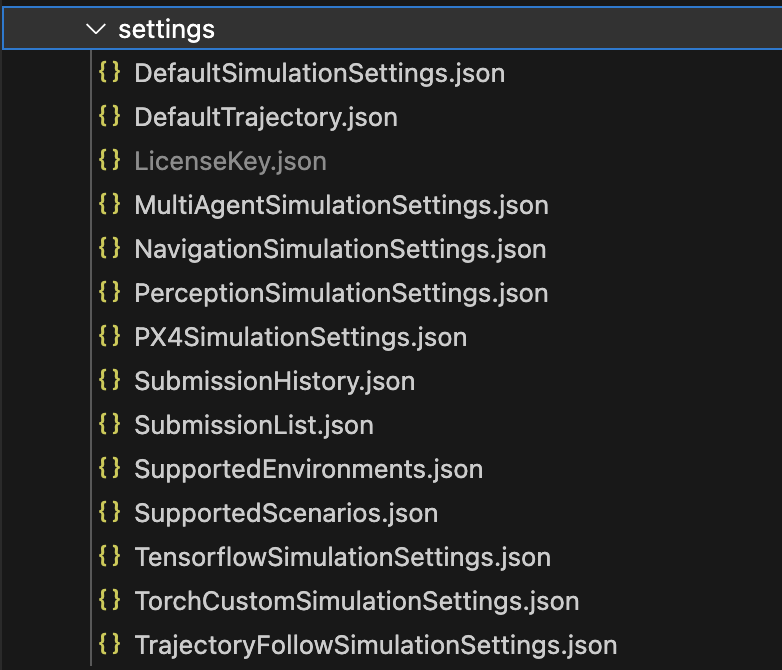
Ensure you have completed the installation instructions in the Installation Guide.In the welcome email you received, please put the file labelled `LicenseKey.json` in the `settings` folder in the root of the `SWARMDeveloperClient` repository.
4. Open the SWARM RDS Application
Depending on your operating system, you may need to either double click the downloaded folder or application icon, or run the following command in a terminal:./app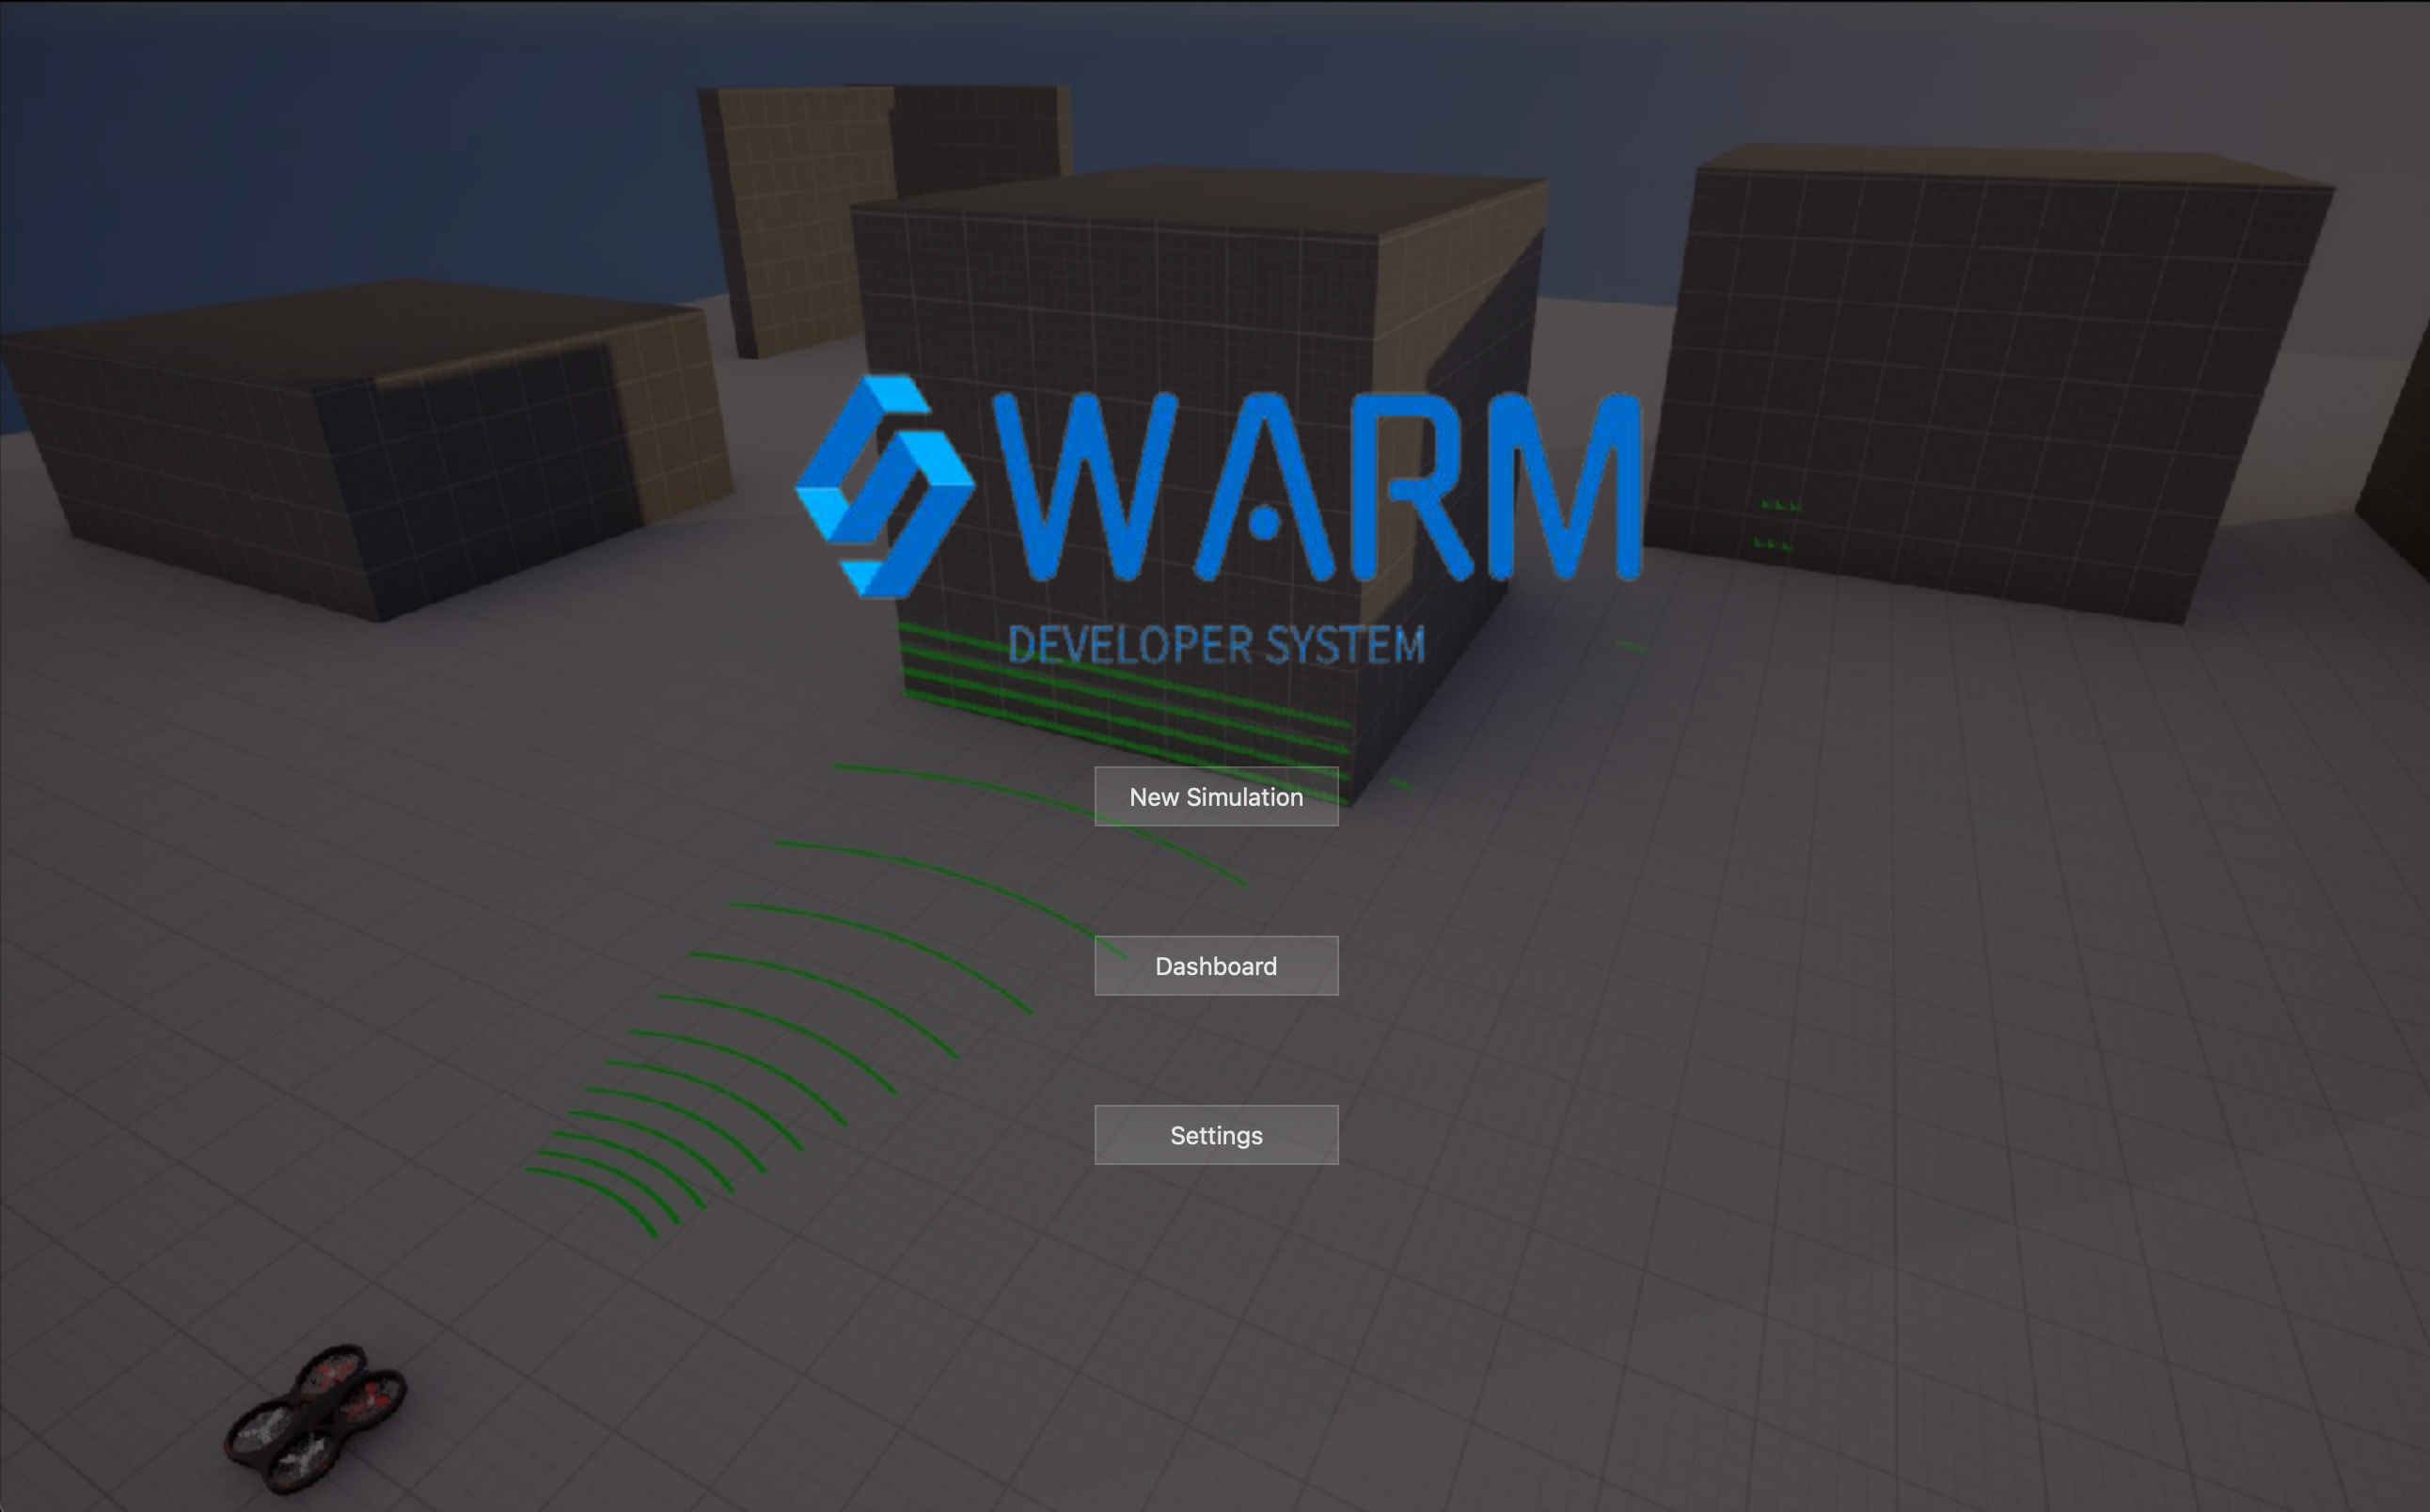
5. Set Your SWARM RDS Repo path and IP Address
The SWARM RDS application uses the SWARM RDS repository to run simulations, save your settings file, provide a place for you to develop algorithms and more. You should have cloned the repository during installation, but can do so now if you have not. To find the folder, you can use the Browse icon to find the SWARM-RDS-Client folder and click "Choose". You can also type in the path directly into the text box.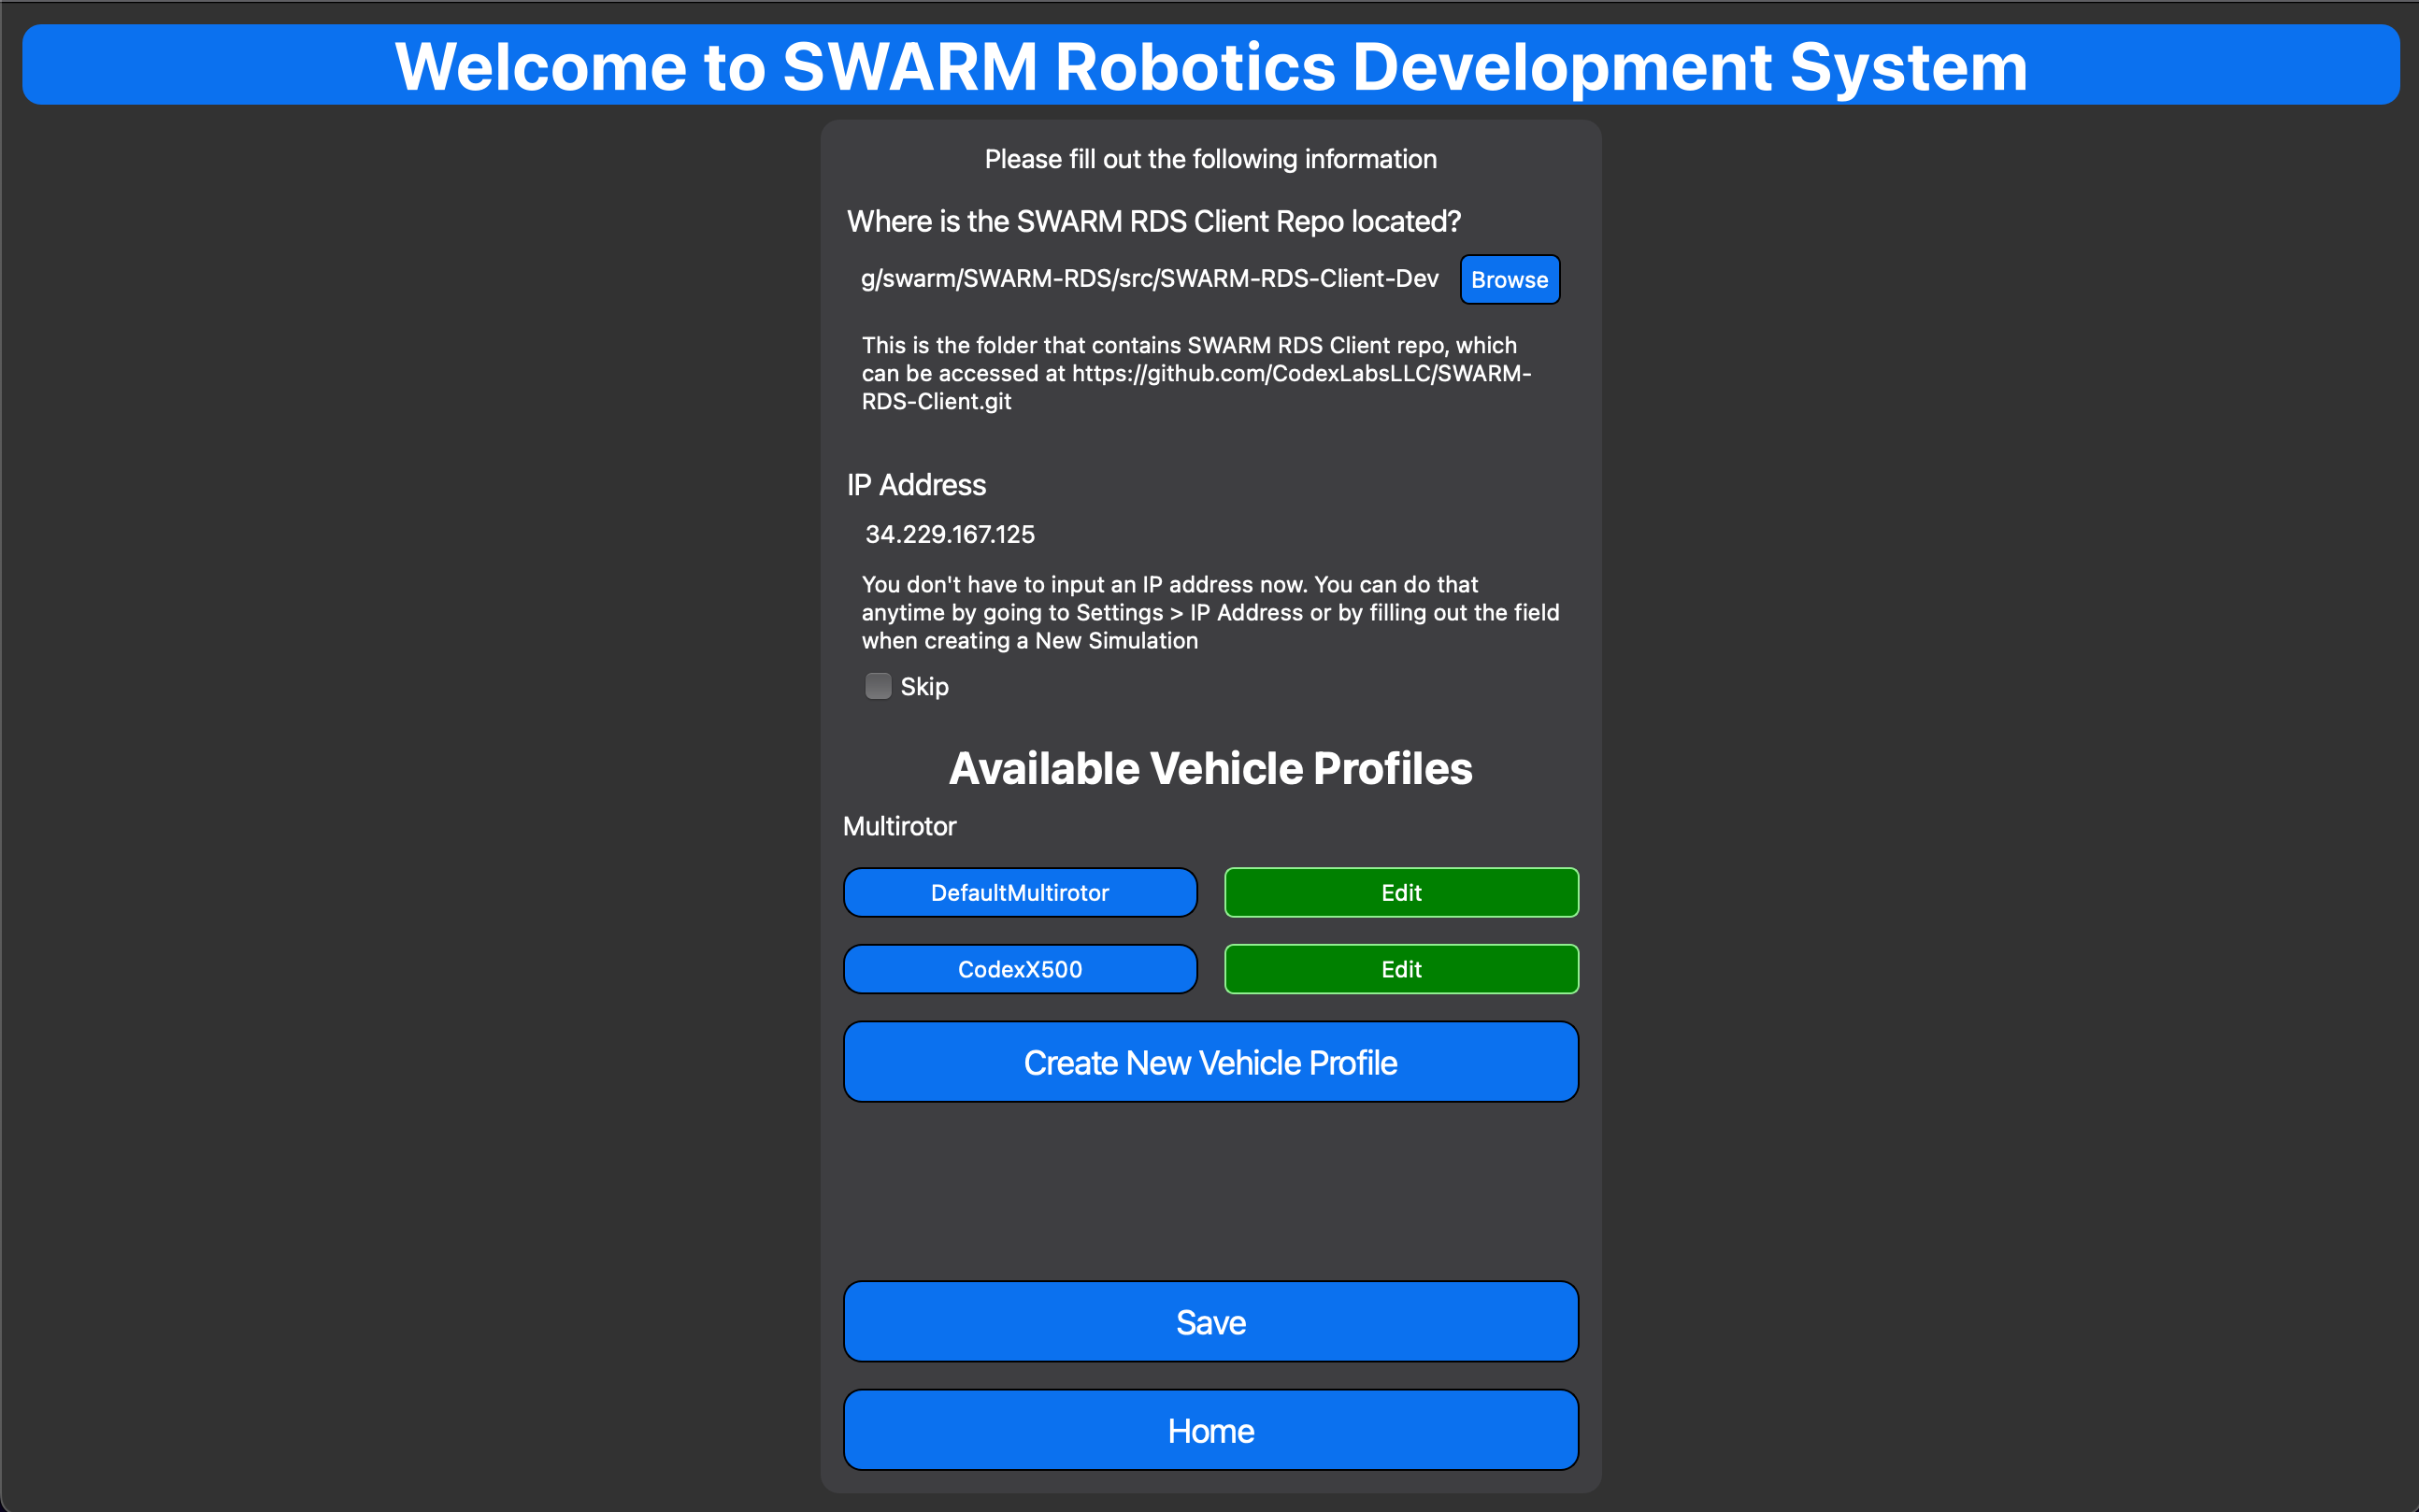 You will also need to set the IP Address of the SWARM RDS Server. On the SWARM RDS
website, please find the IP address that was provided after starting the server. Enter
that IP address into the text box.
You will also need to set the IP Address of the SWARM RDS Server. On the SWARM RDS
website, please find the IP address that was provided after starting the server. Enter
that IP address into the text box.
5. Set Up Your Simulation
We will start with the Hello World Simulation, by choosing "New Simulation" from the main screen.
6. Hello World Introduction
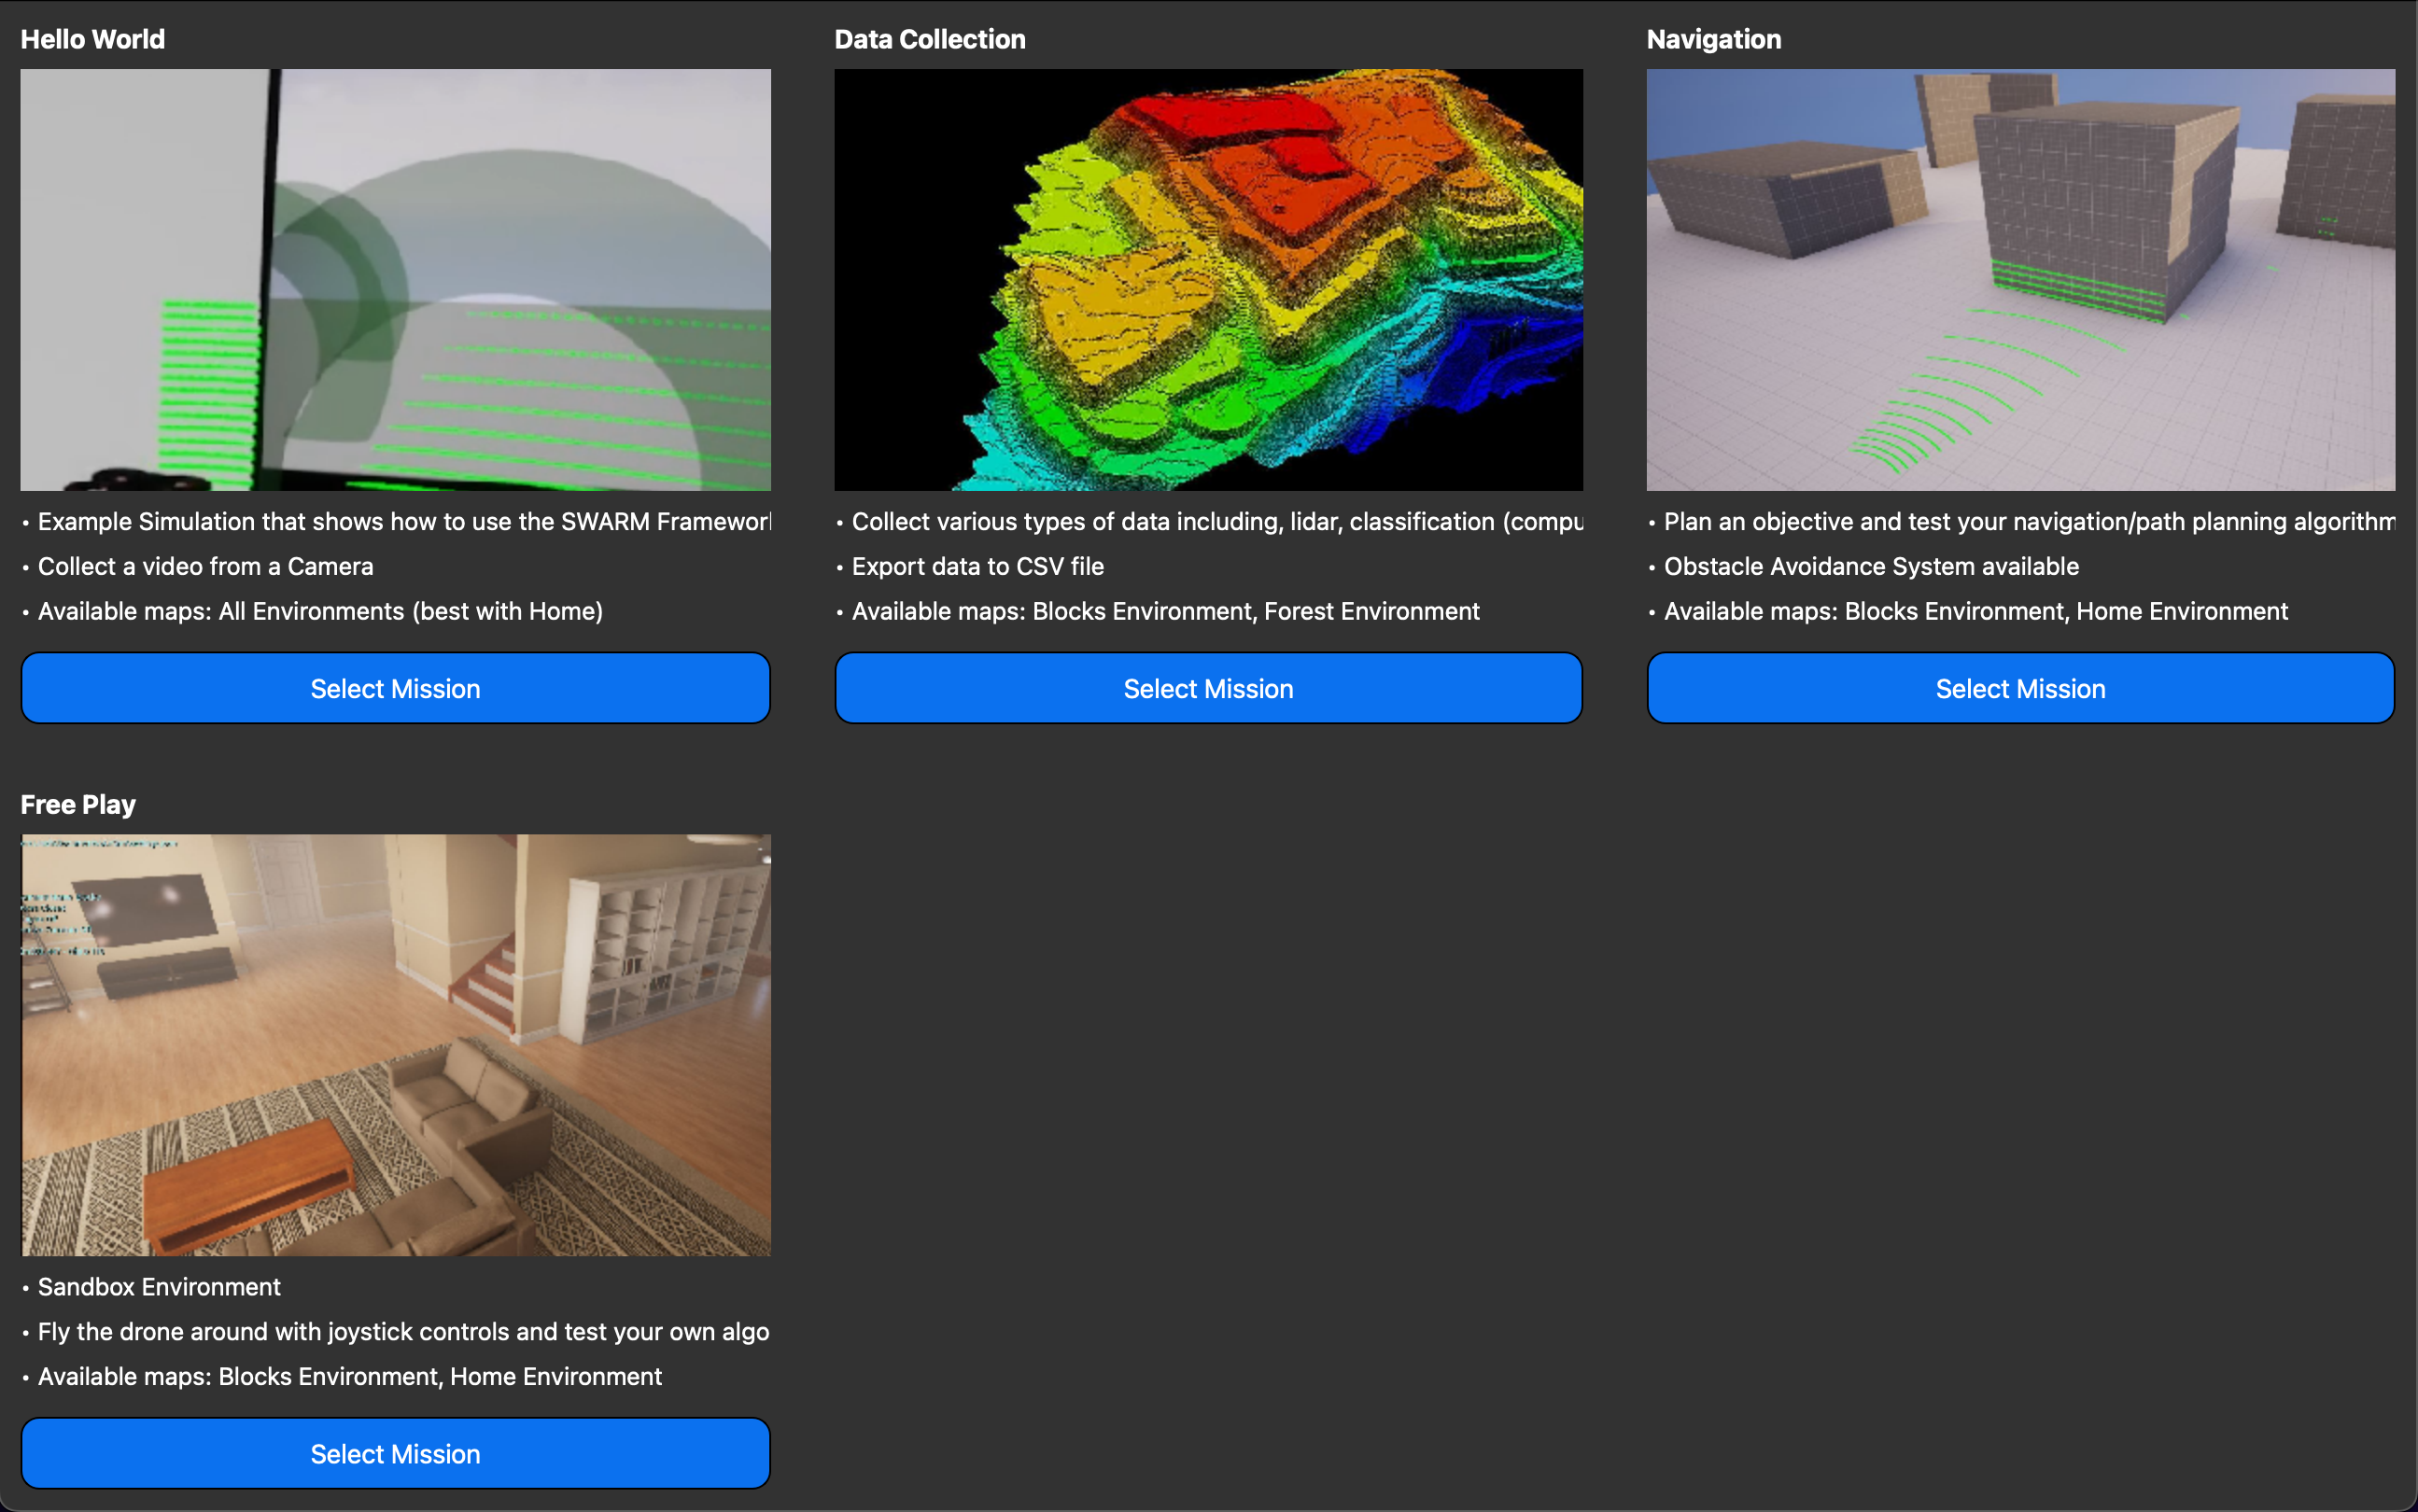
Click "Hello World Introduction" on the next Screen as the Mission. This will load in a set of parameters into the system.Note: What is a Mission?
A Mission is a set of parameters and objectives that each Simulation is measured against. In future updates, you will be able to select from a wide variety of Missions and build your own.
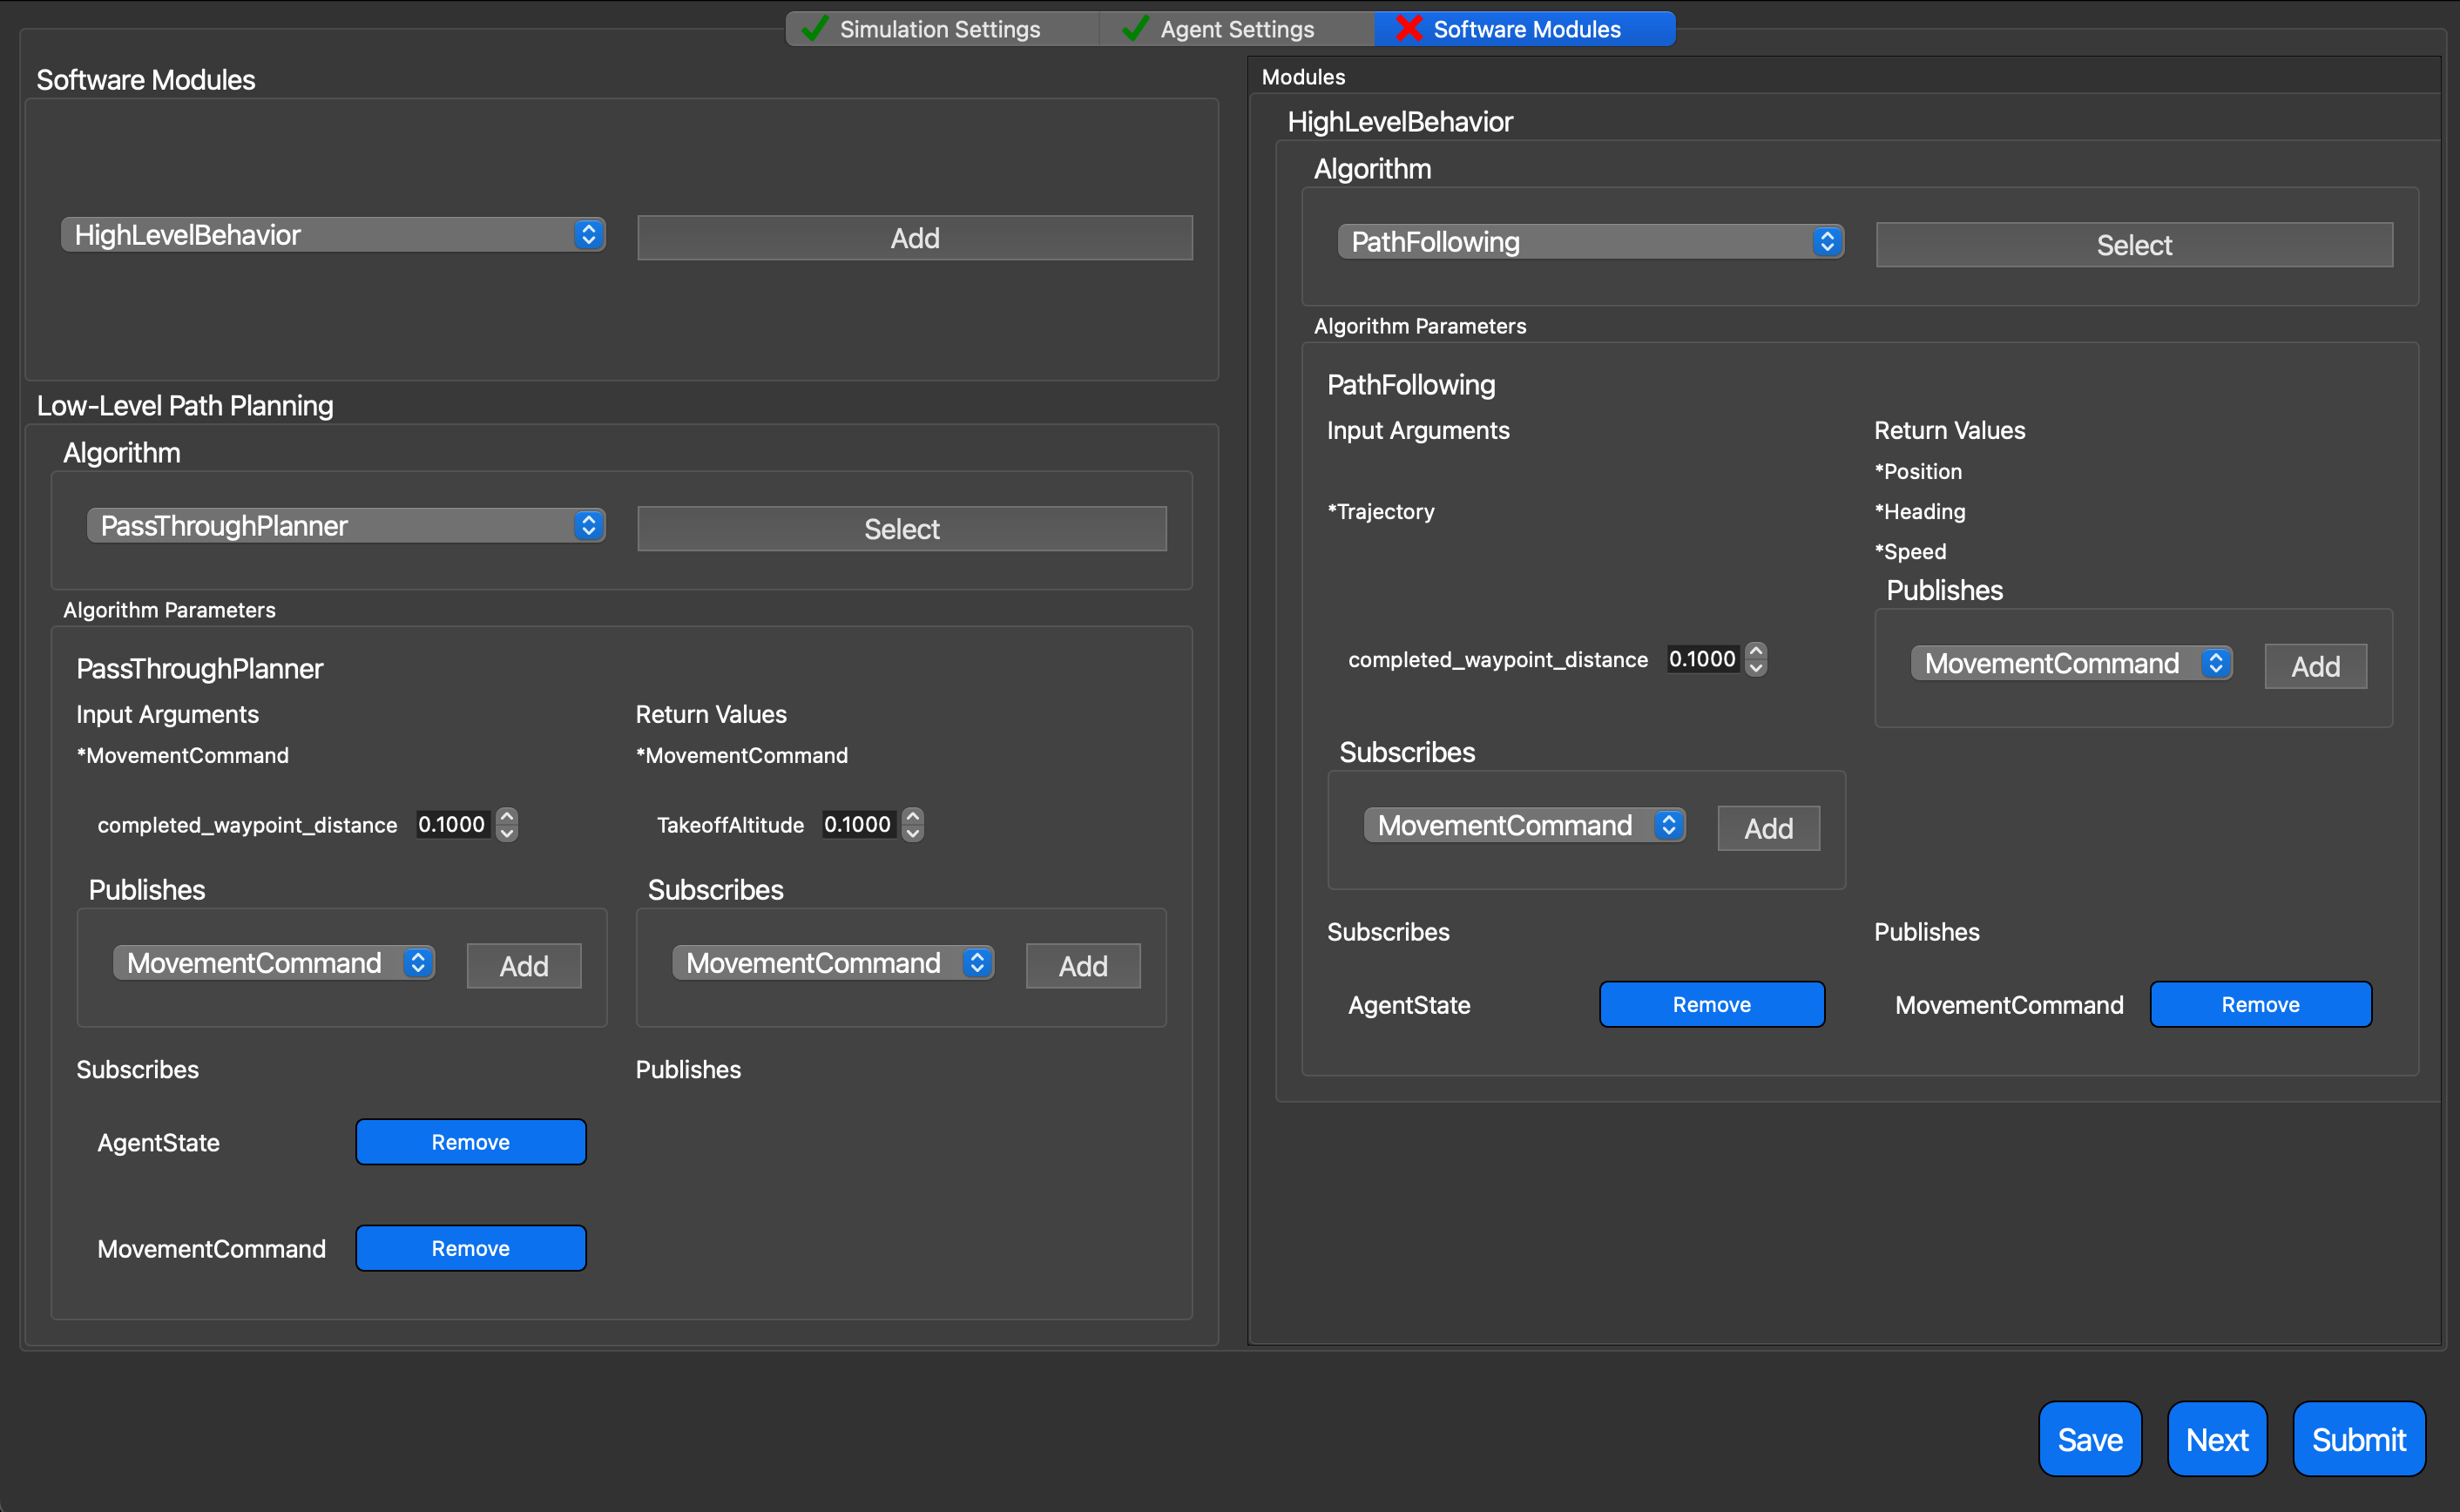
7. Modify and Save your Simulation, Agent and Software Parameters
You can modify each of the three tabs that you see on the screen. You must click 'Save' at the bottom for each tab before clicking 'Submit'. If you click 'Next', the system will automatically save the current tab and move to the next one.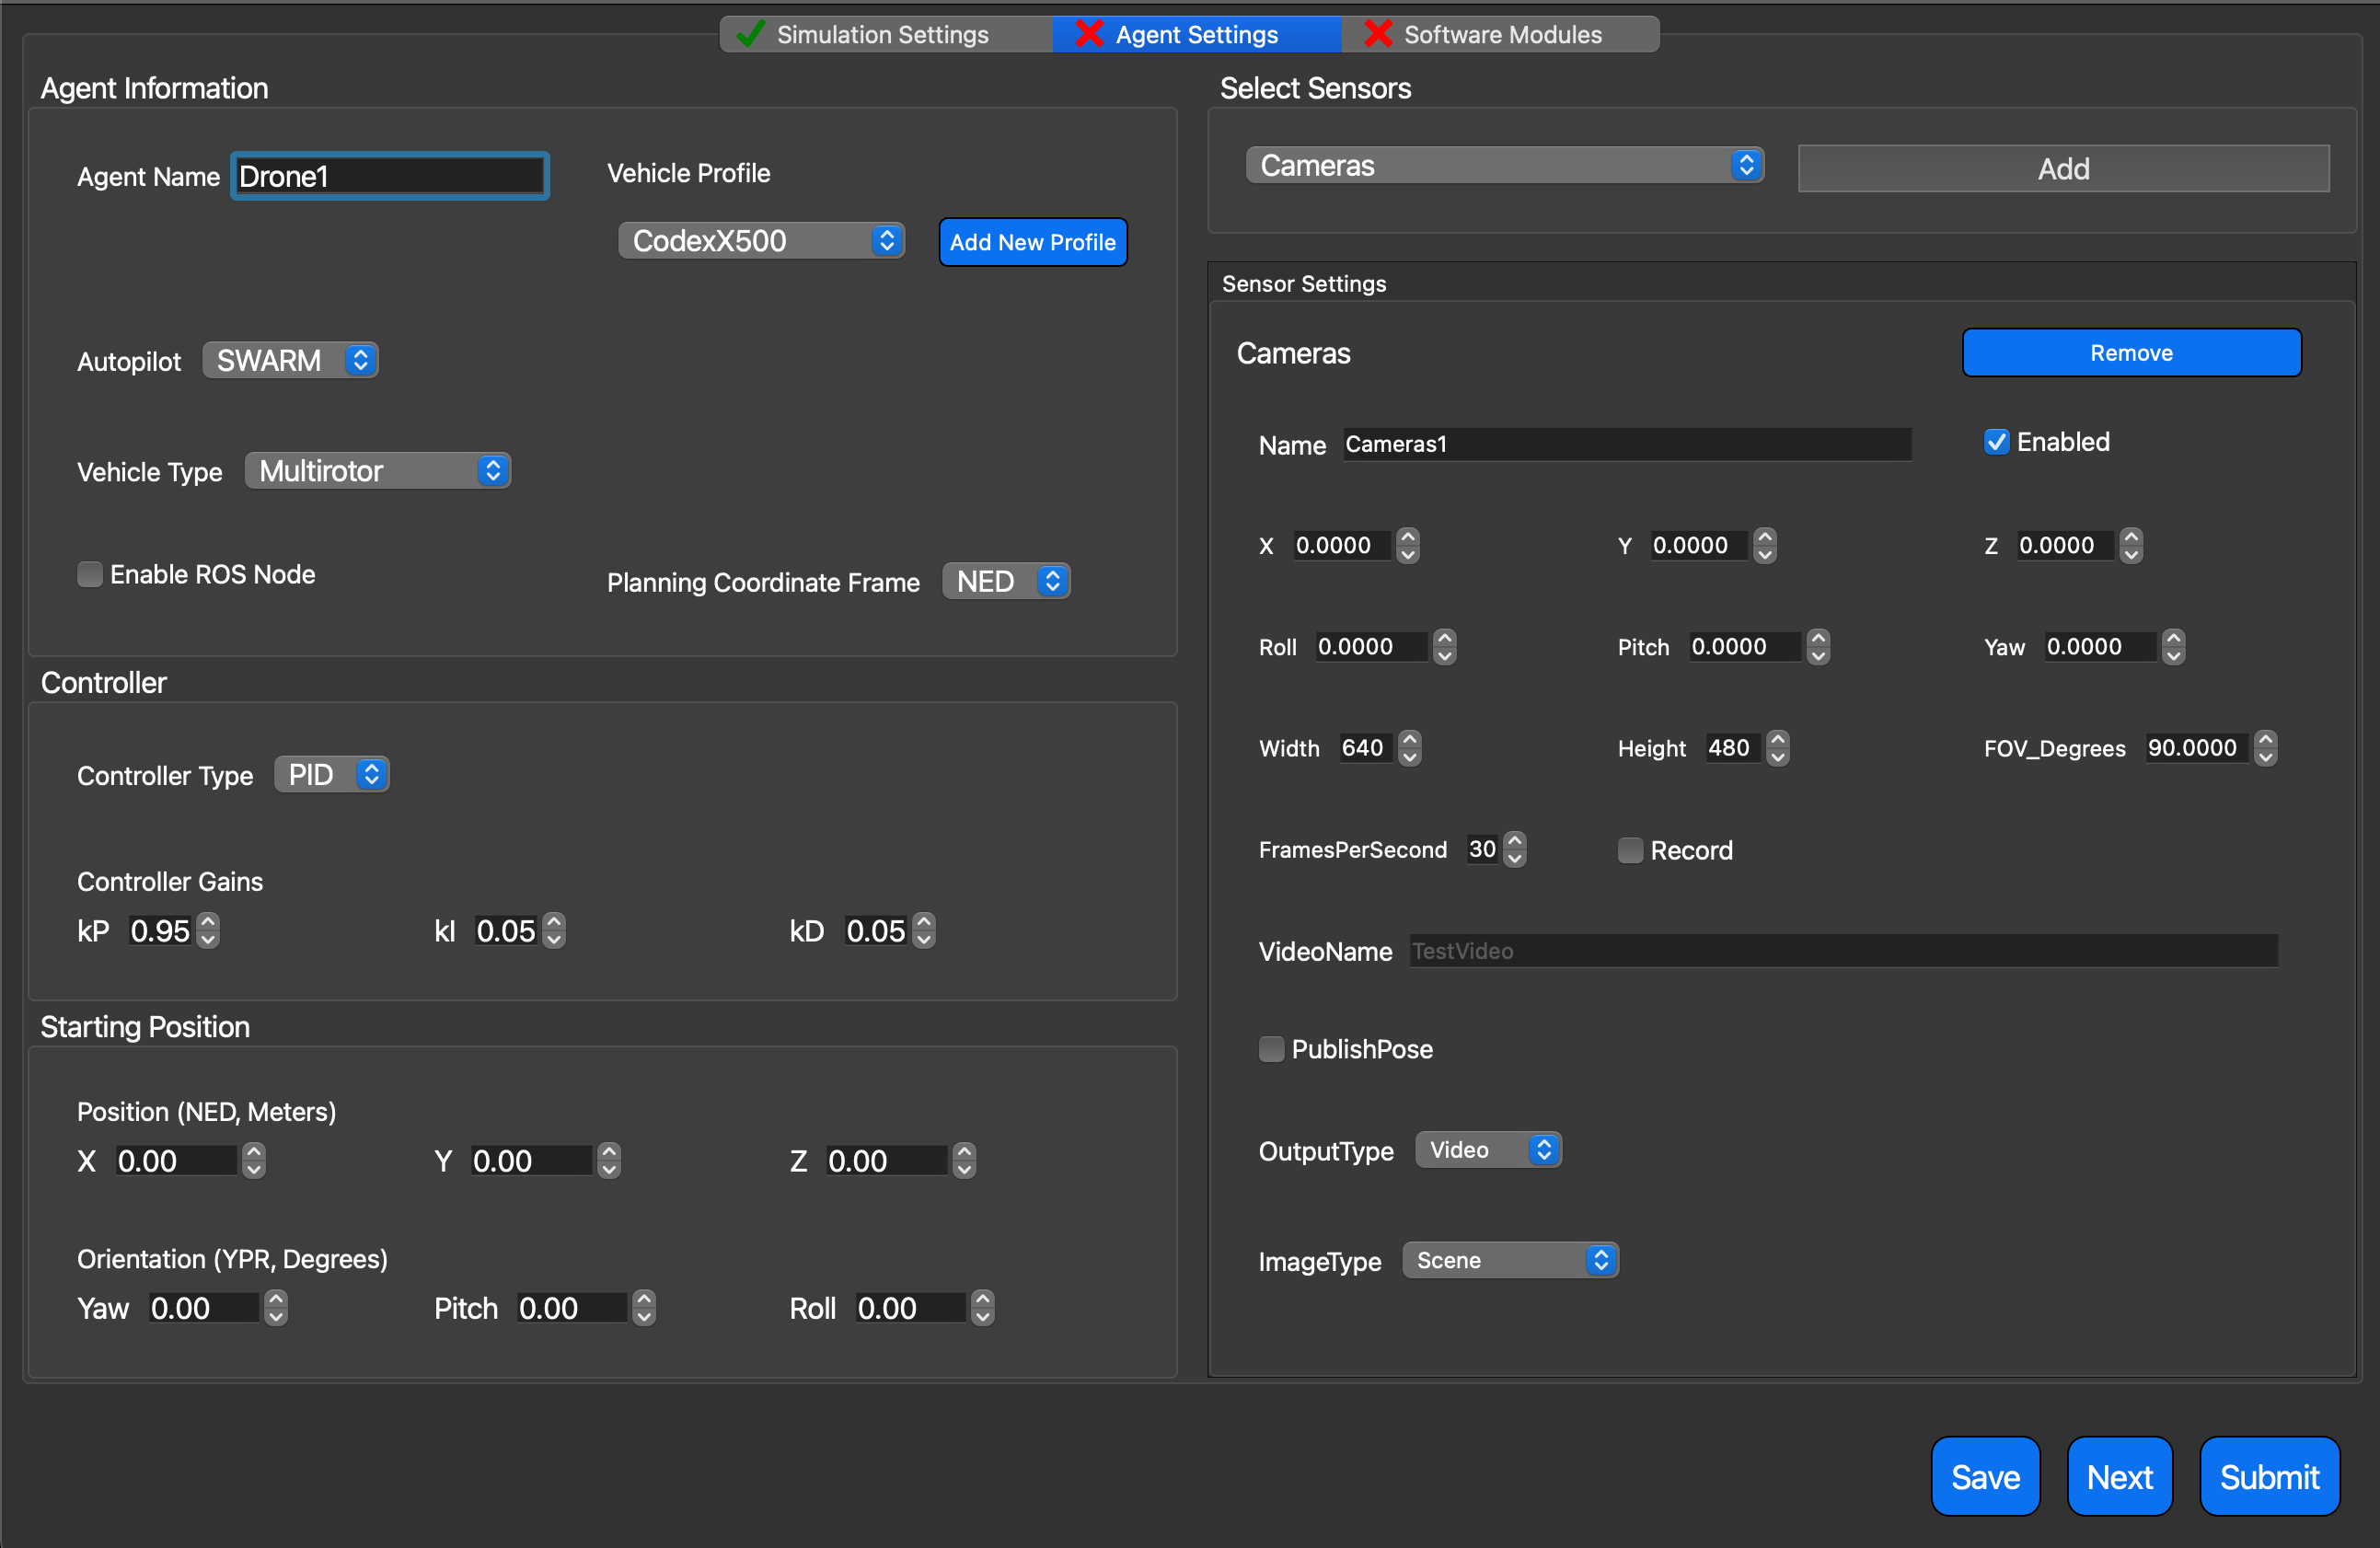
8. Define Your Trajectory
You will need to set the set of points you want to fly. This can be done by modifying the file called `DefaultTrajectory.json` in the `settings` folder. Each point must have the five fields as shown below and you are defining points in North, East and Down (NED).{
"X": 0.0,
"Y": 0.0,
"Z": -0.5,
"Heading": 0.0,
"Speed": 2.0
}9. Submit Your Simulation
Once you have clicked save on each tab, you can click submit. You will see a notification that tells you the path to the settings file that has been generated for this simulation. This allows you to quickly and easily re-run simulations with the same set of parameters that you used previously.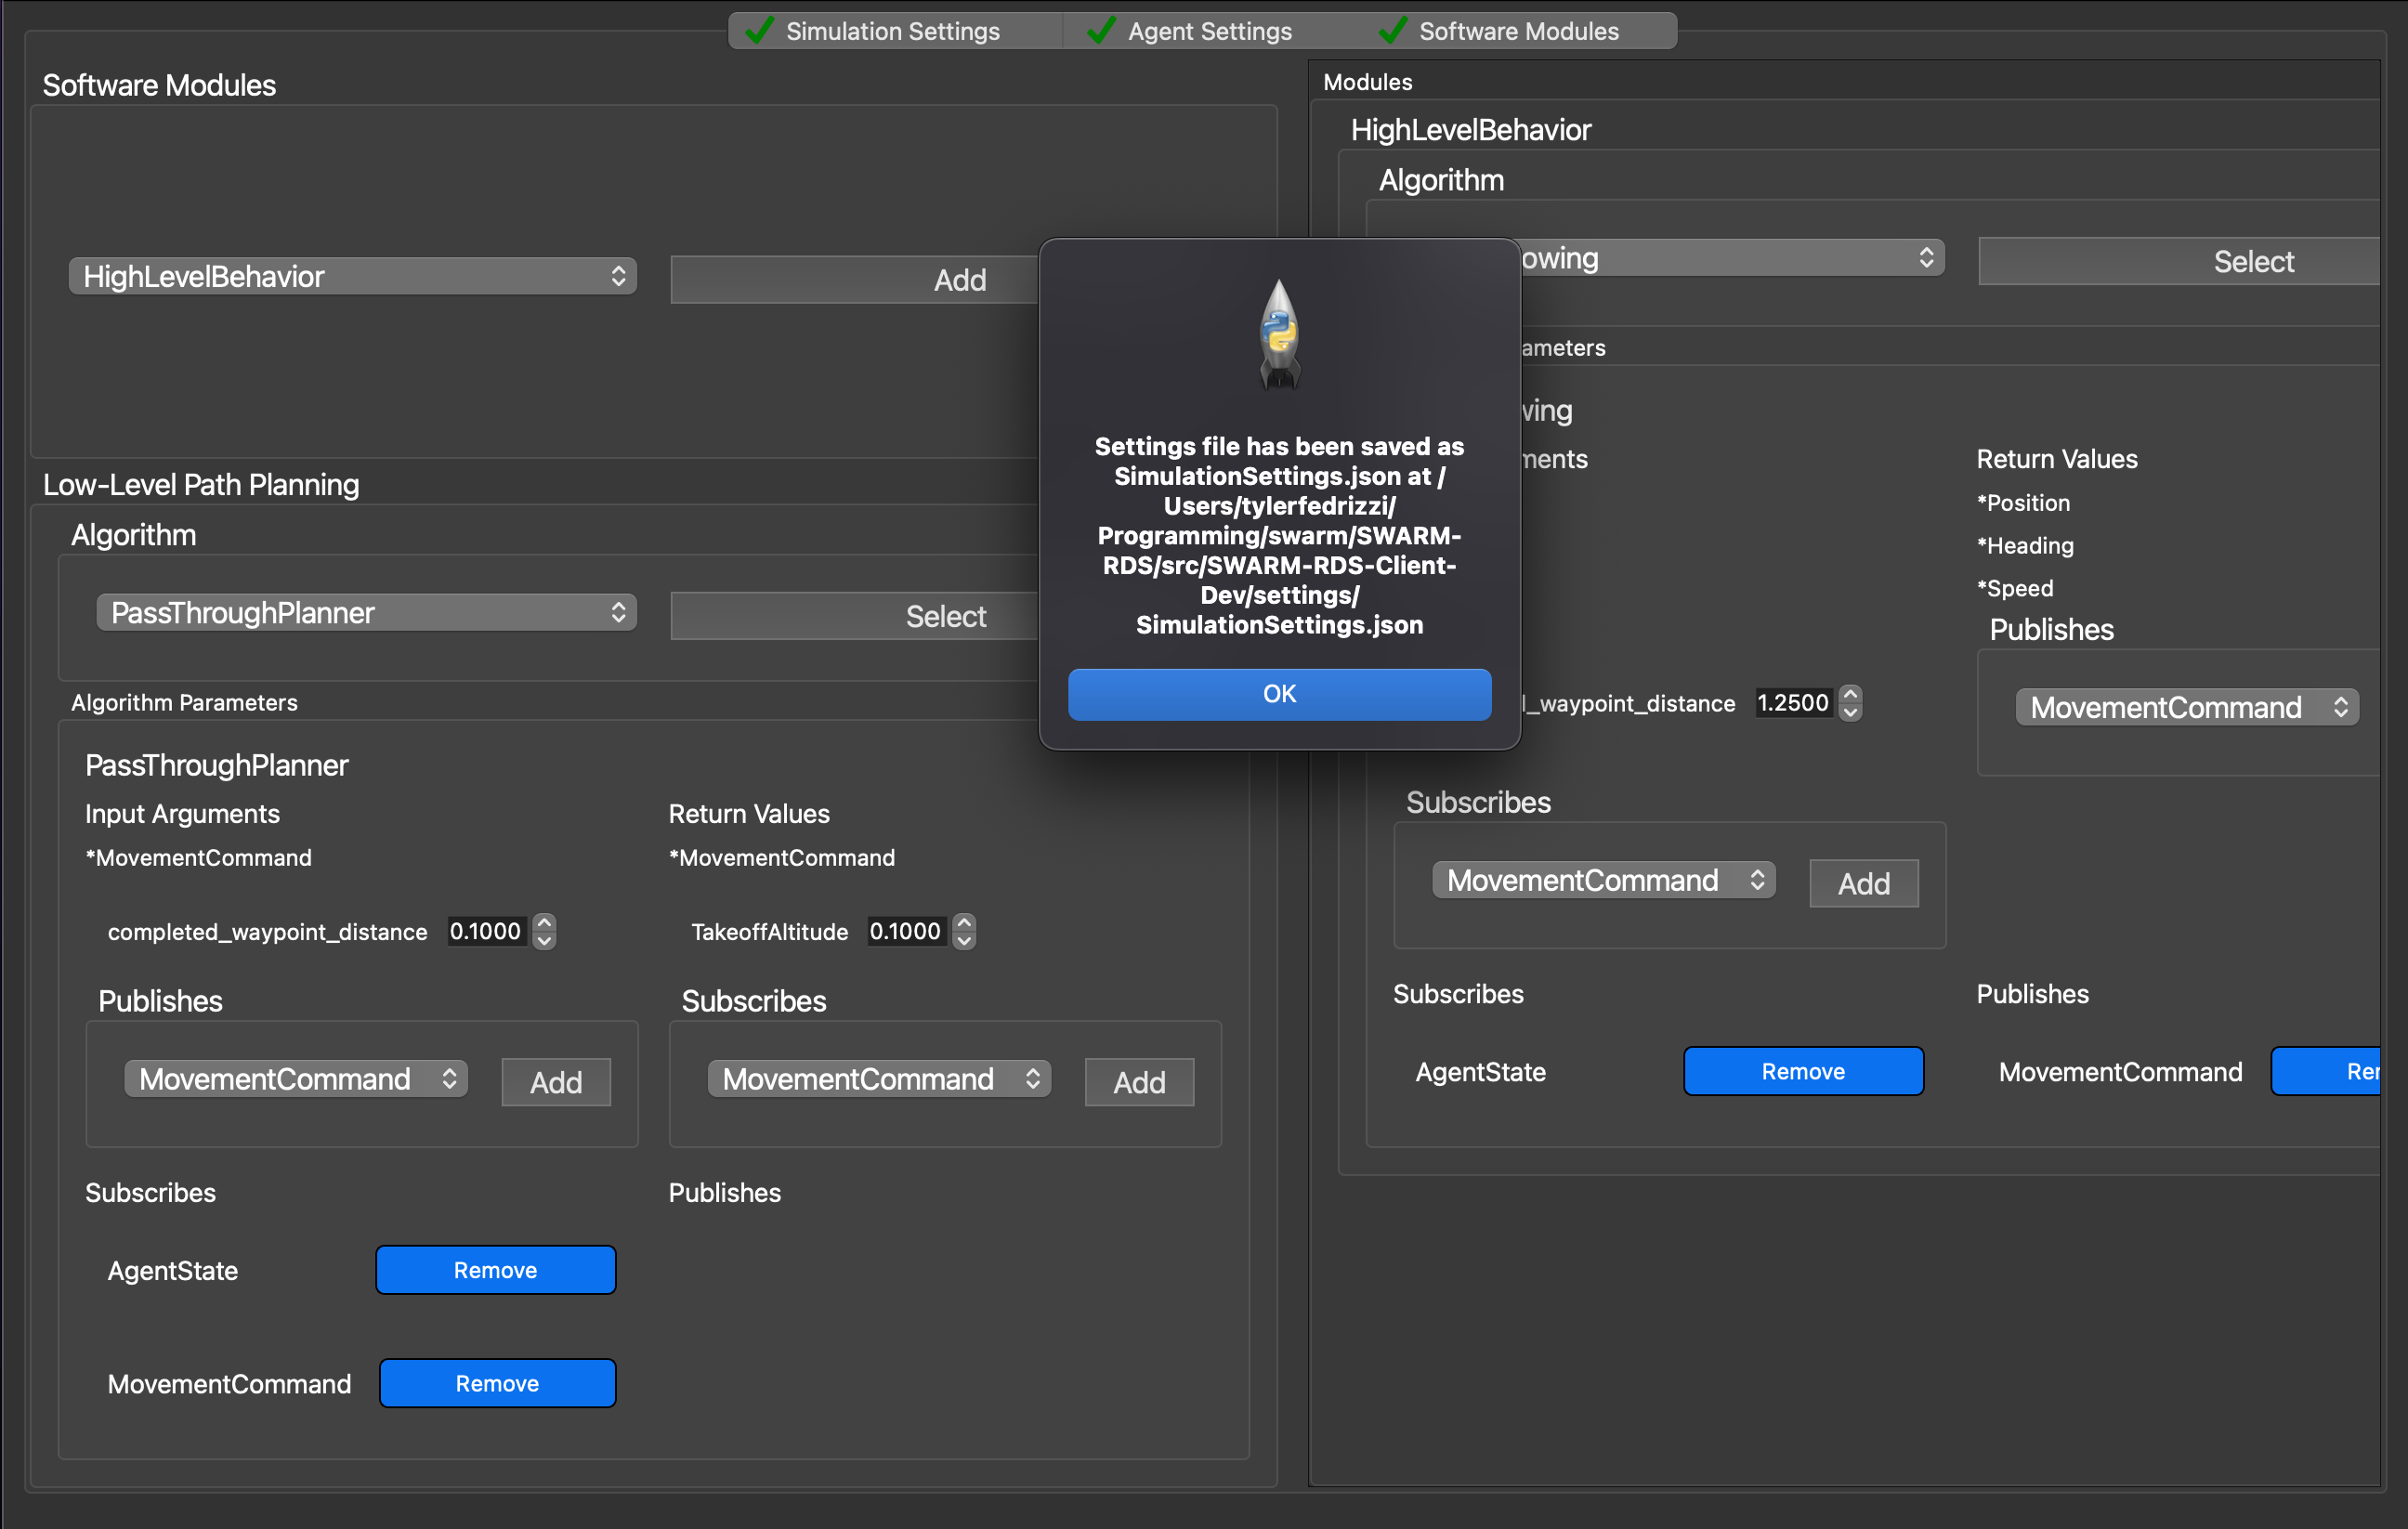
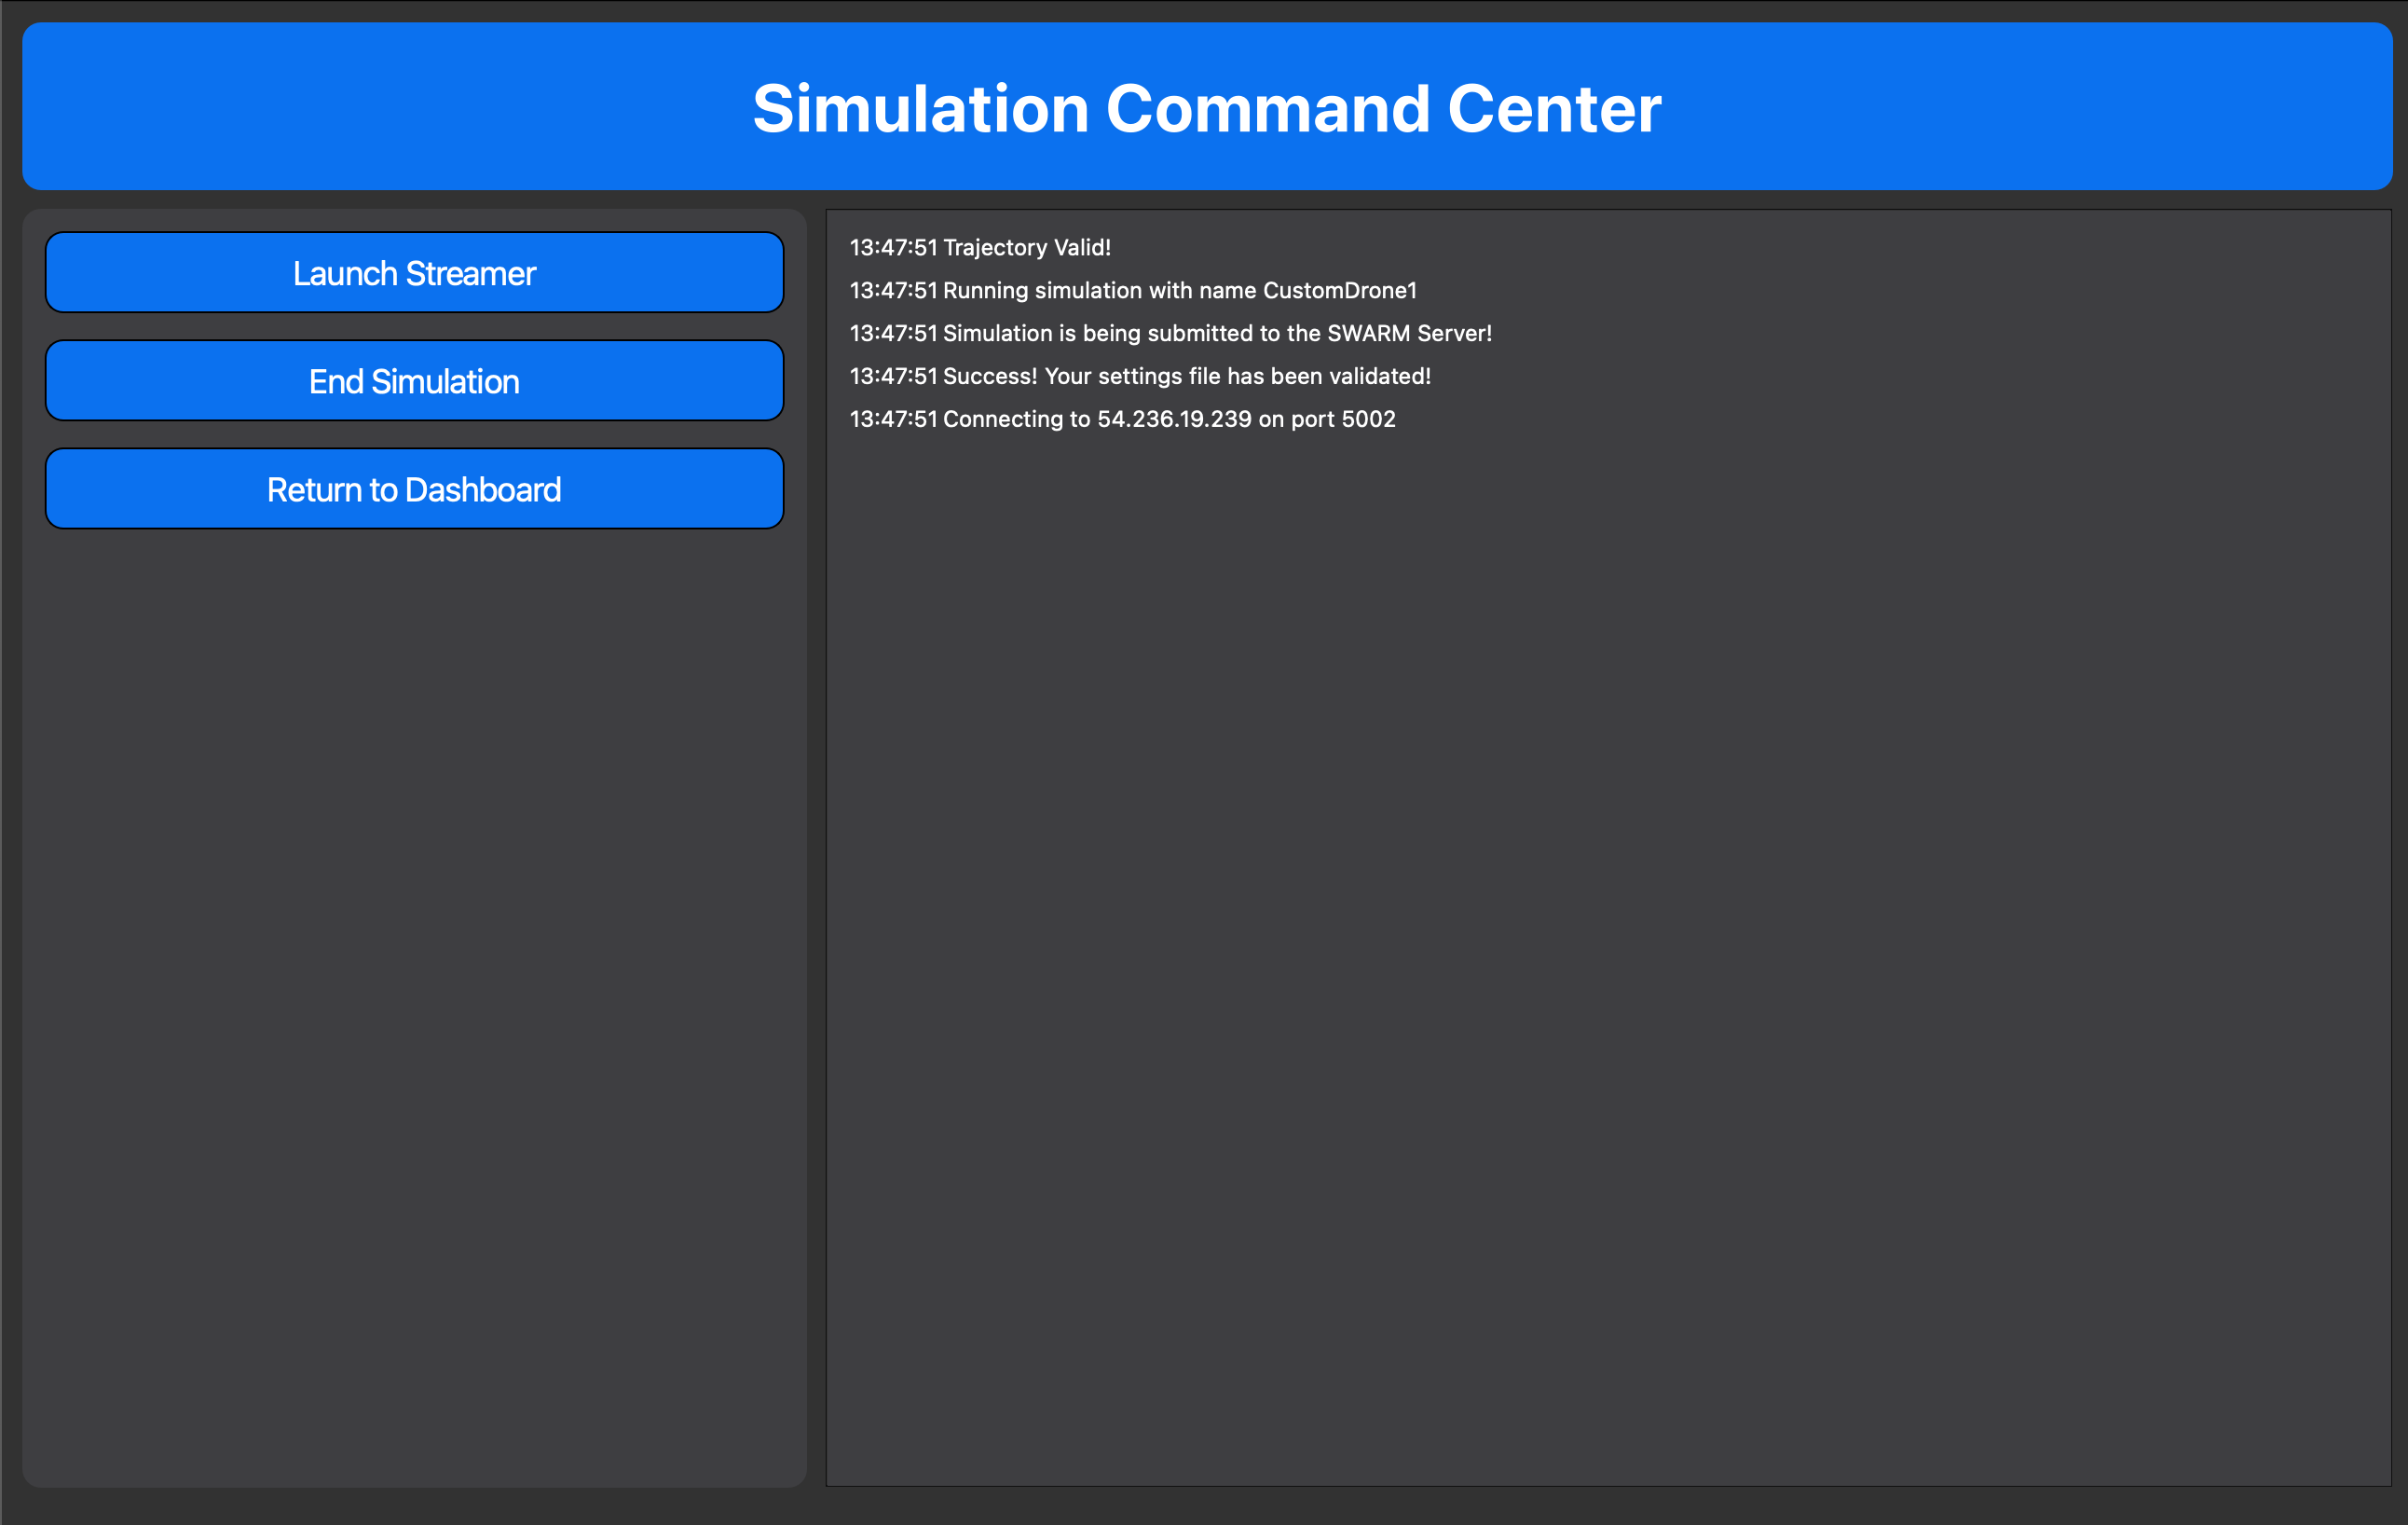
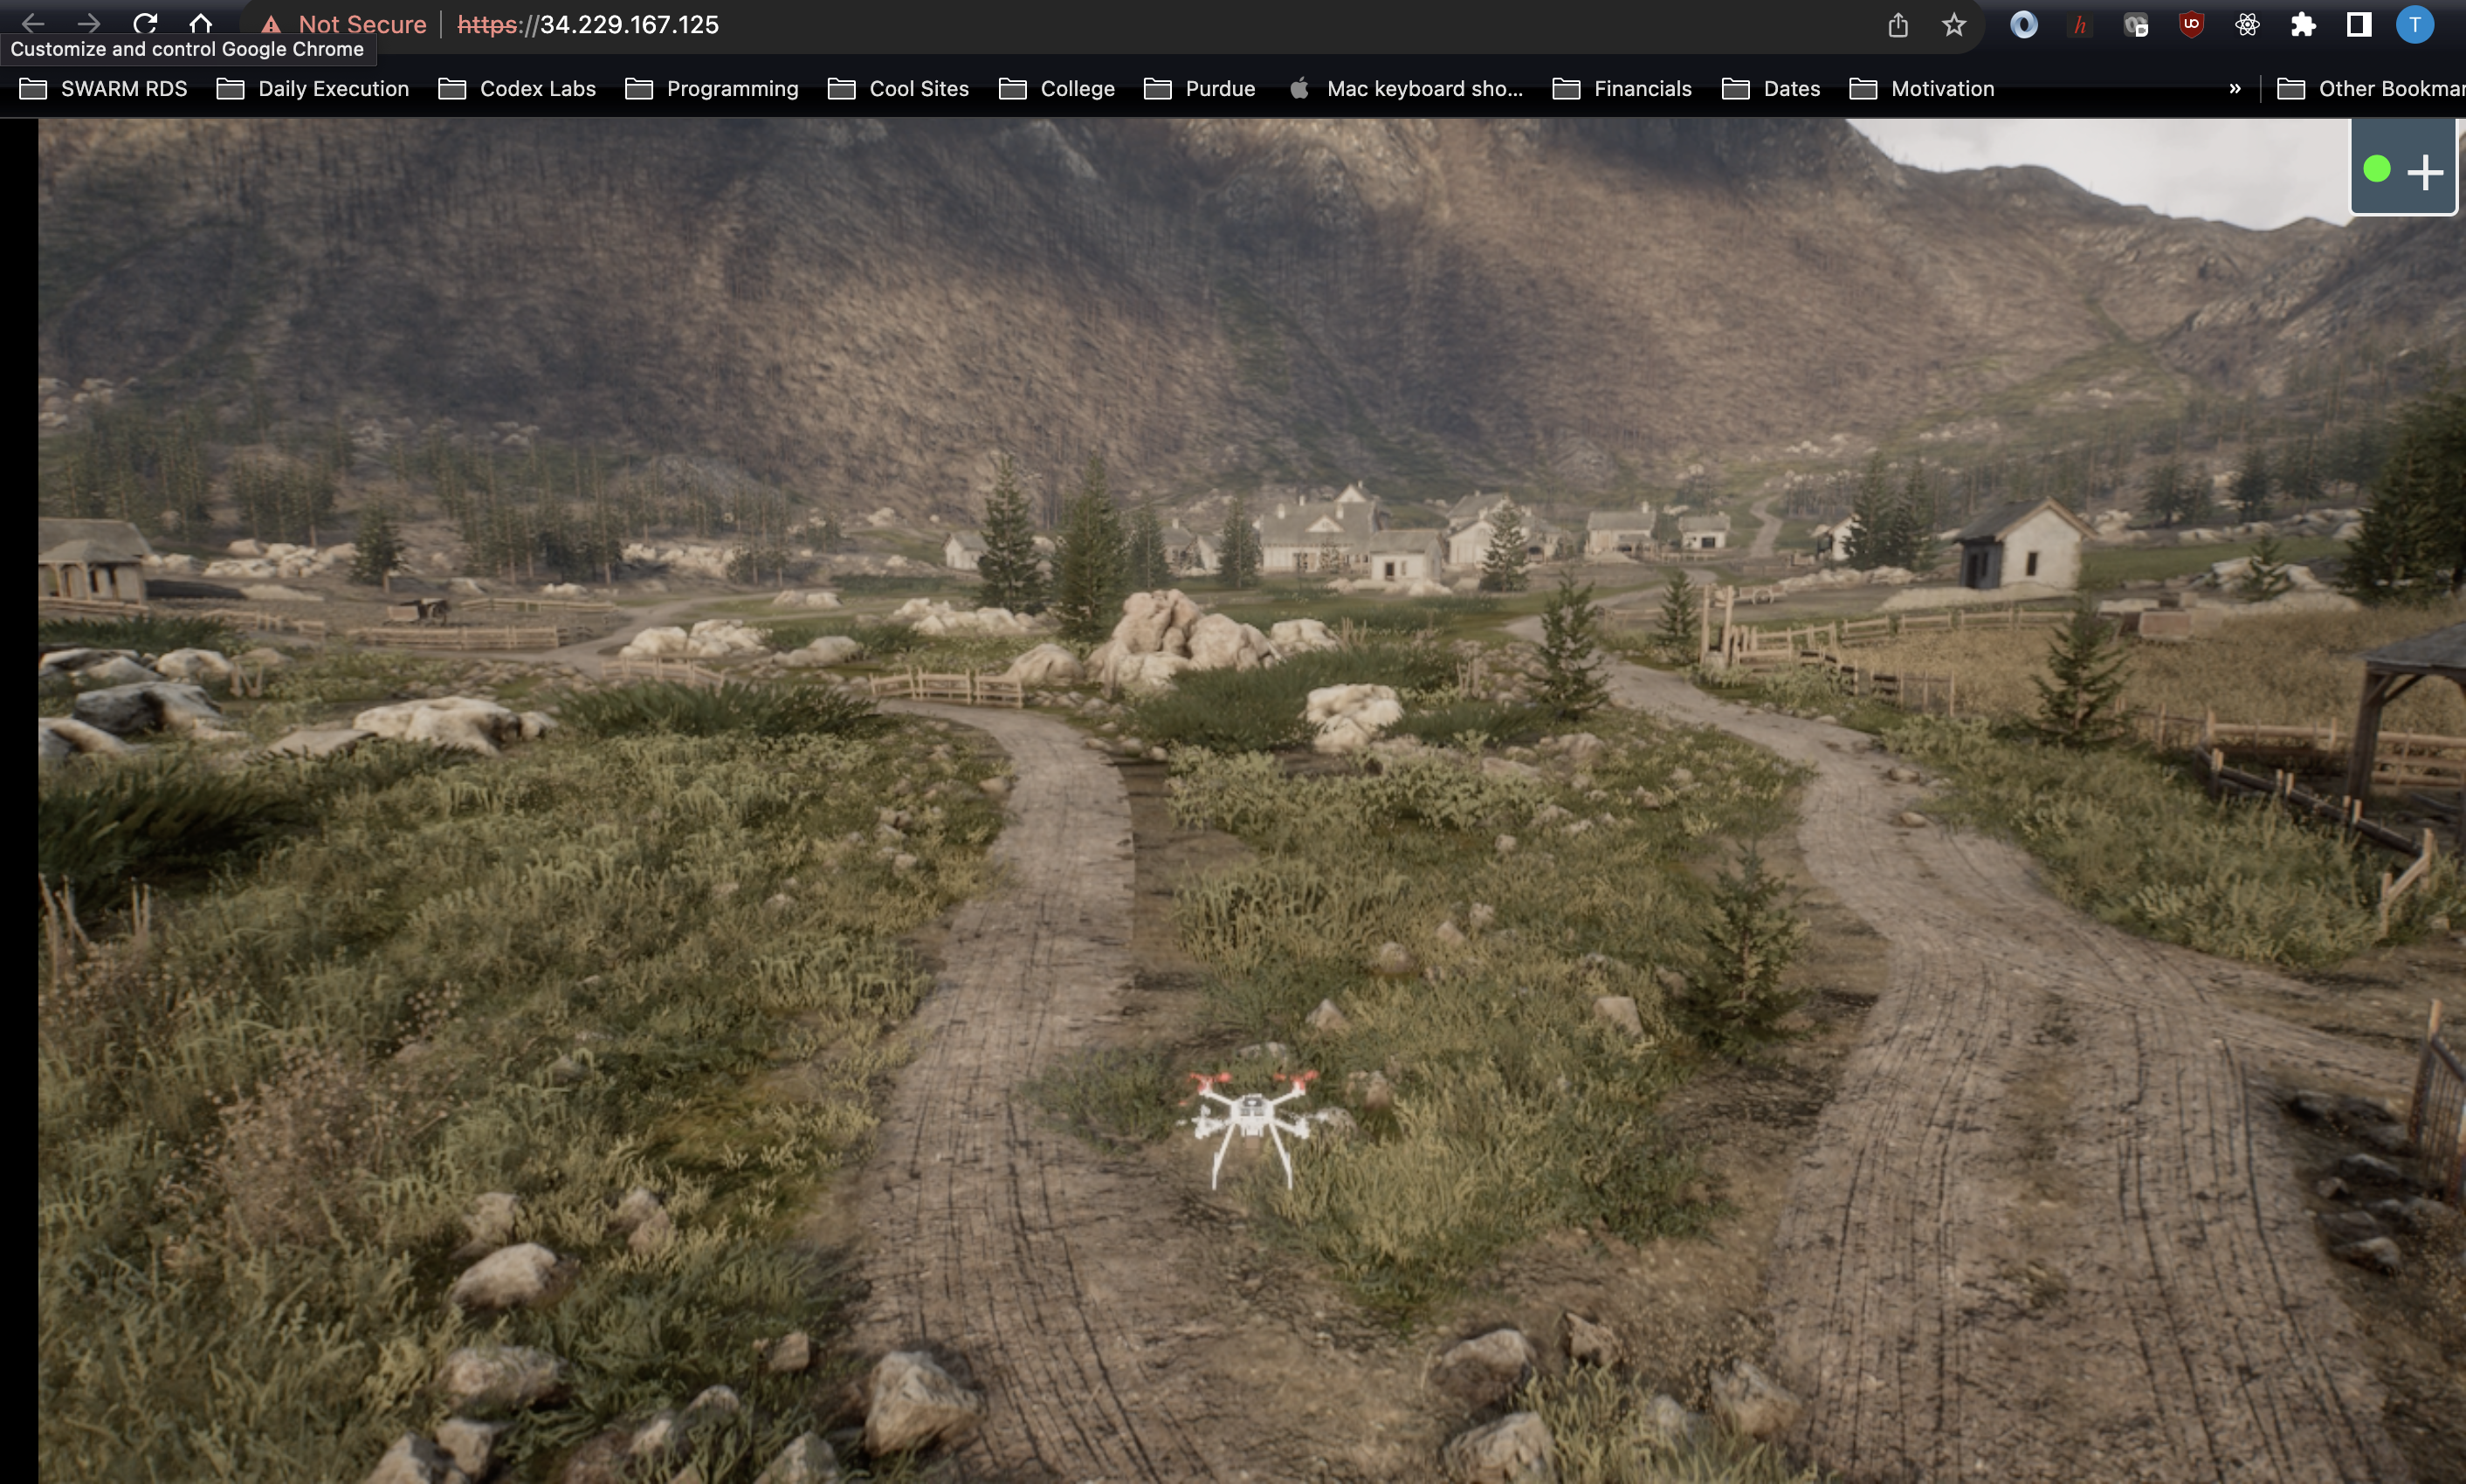
10. View Your Simulation
View the Streaming output by going to any web browser and typing `127.0.0.1` or clicking 'Launch Streamer' on the Simulation Command Center window, then click "Start" to view the stream. This is a fully interactive client that will allow you to control the camera. (Hit `F1` to view options!)