PX4 Tutorial
Welcome to the SWARM Developer System. These instructions presented here will help you as you integrate the PX4 Flight Control software with the SWARM Developer System. We have attempted to be as verbose and clear as possible but always welcome feedback on steps that are unclear or don't work as we expect.
Step 1
First, you will need to ensure that you have downloaded the SWARM Developer Client and have received your
License Key. You should receive a welcome email with a JSON file called "LicenseKey.json". Once you download
the SWARM Developer Client, you can put that file in the "settings" folder.
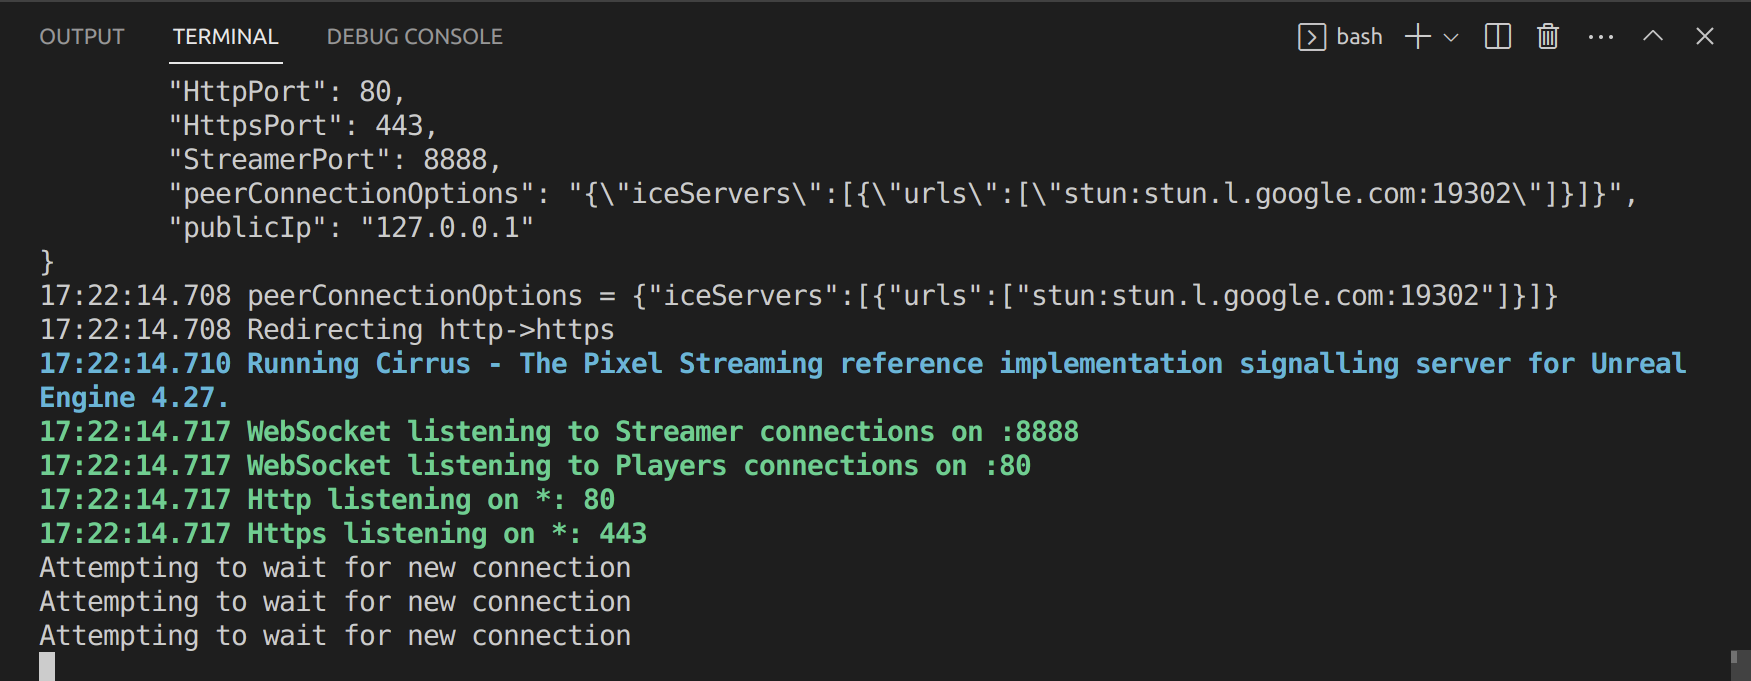
You can then start the Server using the shell file that is localed in the utils folder with:
./run_swarm_container.sh NAME_OF_CONTAINER
Step 2
Next, you will need to modify your PX4 SITL UDP Onboard ports. This is because the default onboard Control port 14540, is taken by the SWARM Simulator so that kinematic and sensor information can be provided to the PX4 SITL. To modify the syste, you can use the instructions here: PX4 Installation Instructions.
Ensure that you follow the directions to add a new UDP onboard port, both local and remote ports. We usually use port 14530 as Remote and 14590 as local.
Step 3
Now, you will need to configure your SWARM Simulations File so that it can work with PX4. We have provided an example file below and this file is also in the SWARM
Developer Client, in the "settings" folder, titled PX4SimulationSettings.json.
    {
    "ID": 0,
    "SimulationName": "example",
    "RunLength": 200.0,
    "Scenario": {
        "Name": "DataCollection",
        "Options": {
            "MultiLevel": false,
            "LevelNames": [
                "Home1"
            ]
        }
    },
    "Environment": {
        "Name": "SWARMHome",
        "StartingLevelName": "Home1",
        "StreamVideo": true
    },
    "Data": {
        "VehicleState": {
            "Format": "SWARM"
        }
    },
    "Agents": {
        "Drone1": {
            "Vehicle": "Multirotor",
            "VehicleOptions": {
                "UseLocalPX4": true,
                "RunROSNode": true,
                "PlanningCoordinateSystem": "NED"
            },
            "AutoPilot": "SWARM",
            "Sensors": {
                "LiDAR": {
                    "LidarSensor1": {
                        "Hardware": "VelodynePuck",
                        "Method": "Colosseum",
                        "Enabled": true,
                        "X": 0.35,
                        "Y": 0.0,
                        "Z": 0.0,
                        "Roll": 0.0,
                        "Pitch": 0.0,
                        "Yaw": 0.0,
                        "PublishingRate": 20.0,
                        "Settings": {

                        }
                    }
                },
                "Barometers": {
                    "Barometer": {
                        "Enabled": true,
                        "Method": "Colosseum",
                        "PublishingRate": 5.0
                    }
                },
                "IMU": {
                    "Imu1": {
                        "Enabled": true,
                        "Method": "Colosseum",
                        "PublishingRate": 100.0
                    }
                },
                "GPS": {
                    "Gps1": {
                        "Enabled": true,
                        "Method": "Colosseum",
                        "PublishingRate": 10.0
                    }
                },
                "Magnetometers": {
                    "Magnetometer": {
                        "Enabled": true,
                        "Method": "Colosseum",
                        "PublishingRate": 10.0
                    }
                },
                "Odometers": {
                    "Odometer1": {
                        "Enabled": true,
                        "Method": "Colosseum",
                        "PublishingRate": 25.0
                    }
                },
                "Cameras": {
                    "Camera1": {
                        "Enabled": true,
                        "X": 0.35,
                        "Y": 0.0,
                        "Z": 0.0,
                        "Roll": 0.0,
                        "Pitch": 0.0,
                        "Yaw": 0.0,
                        "ImageType": "Scene",
                        "Width": 640,
                        "Height": 480,
                        "FOV_Degrees": 90.0,
                        "FramesPerSecond": 24.0,
                        "Record": true,
                        "OutputType": "Video",
                        "VideoName": "Camera1_Capture"
                    }
                }
            },
            "Controller": {
                "Name": "SWARMBase",
                "Gains": {
                    "P": 0.95,
                    "I": 0.02,
                    "D": 0.05
                }
            },
            "StartingPosition": {
                "X": 0.0,
                "Y": 0.0,
                "Z": -1.0,
                "Roll": 0.0,
                "Pitch": 0.0,
                "Yaw": 0.0
            },
            "SoftwareModules": {

            }
        }
    }
}
Now, what you will notice is that we have a suite of sensors set up. These include:
- Barometer
- Magnetometer
- IMU
- GPS
Step 5
Now, you are ready to run the simulation. Go to the root of the SWARM Developer Client and type in the following information, assuming that you are using
the provided PX4SimulationSettings.json file provided in the repo.
python3 main.py --map-name SWARMHome --sim-settings PX4SimulationSettings
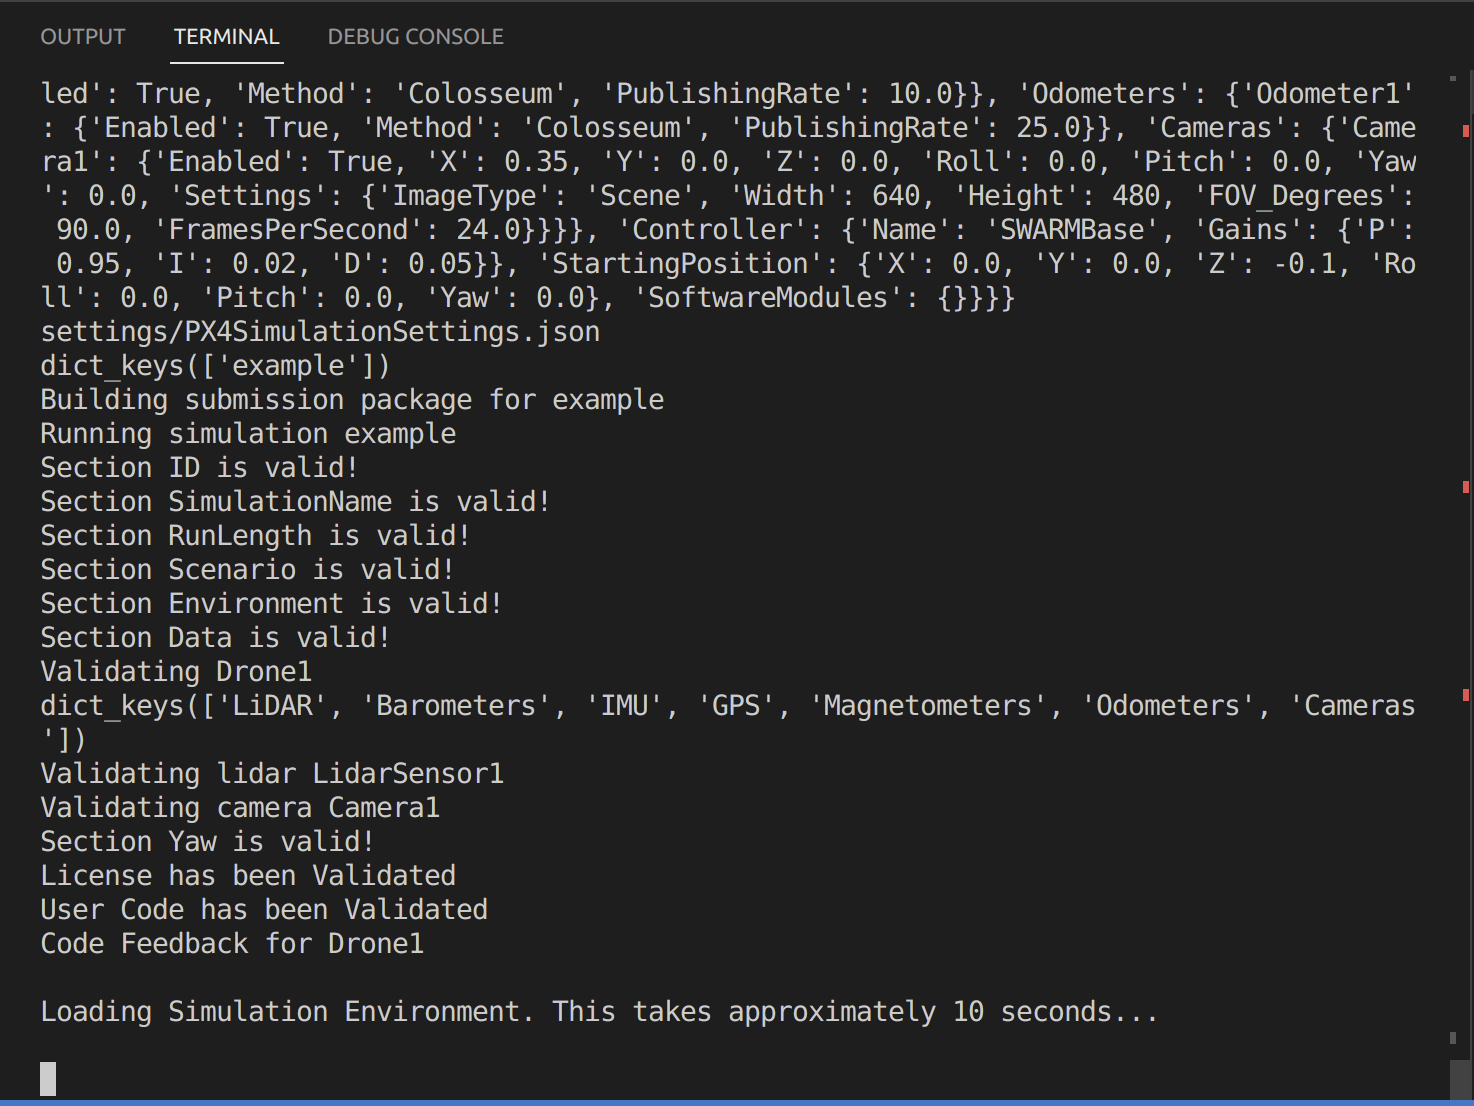
You will see that the simulation file is being validated. Once the system has uploaded your configuration file, you will see the following output.
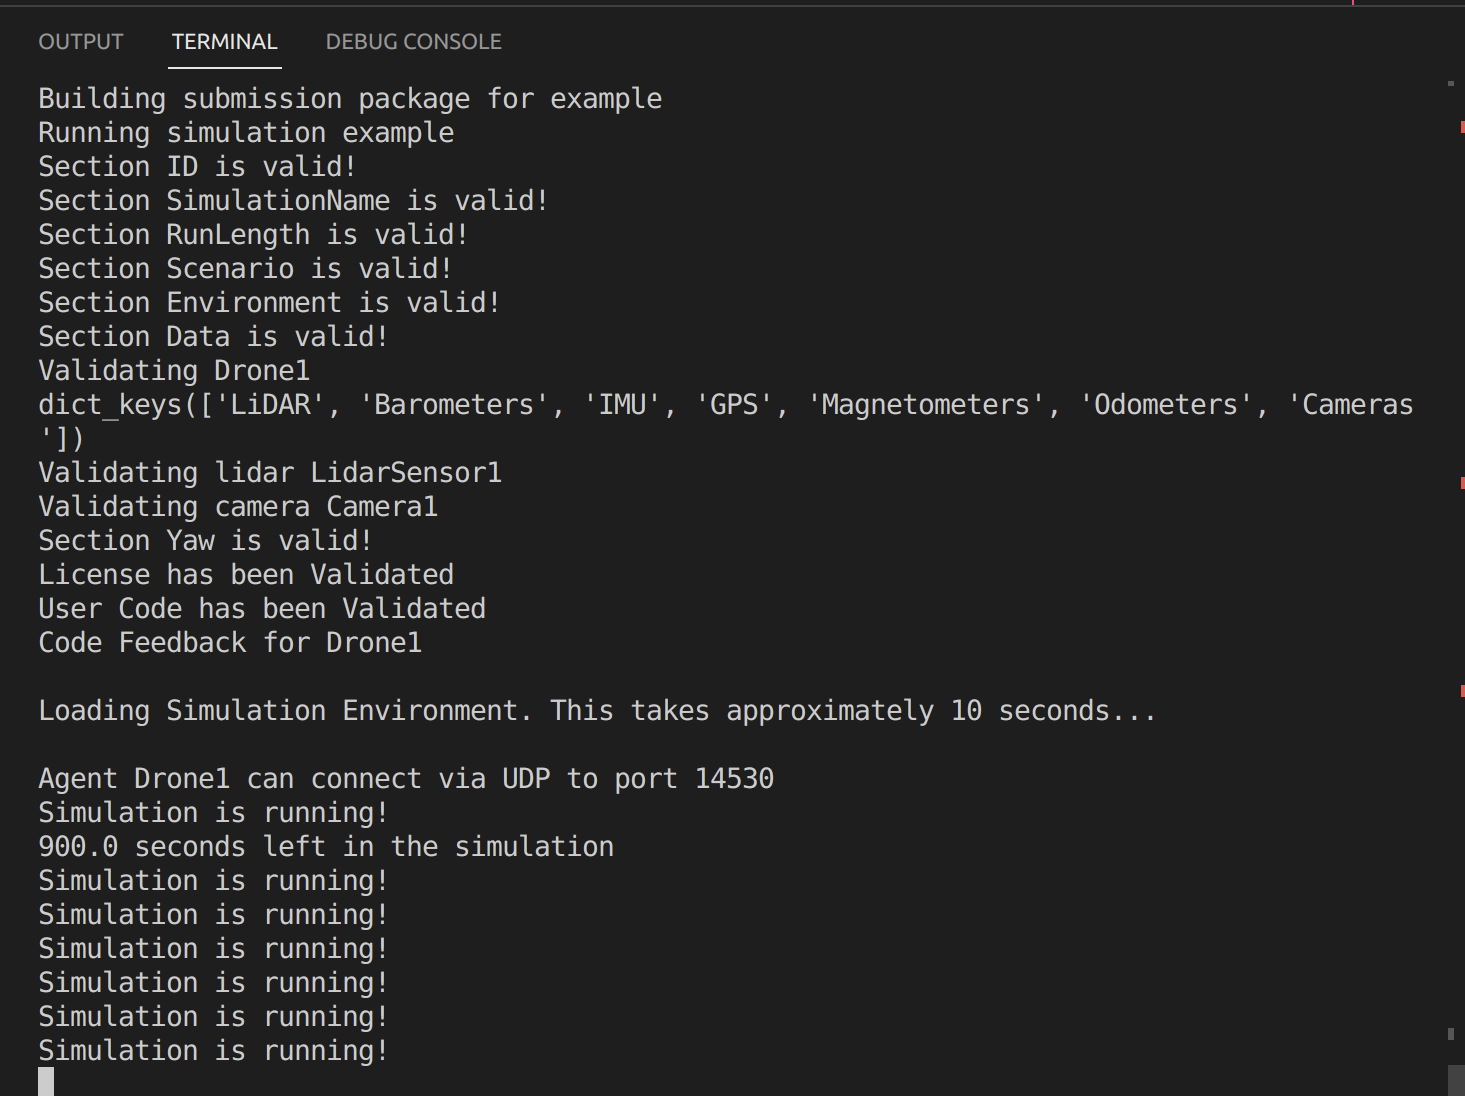
Step 6
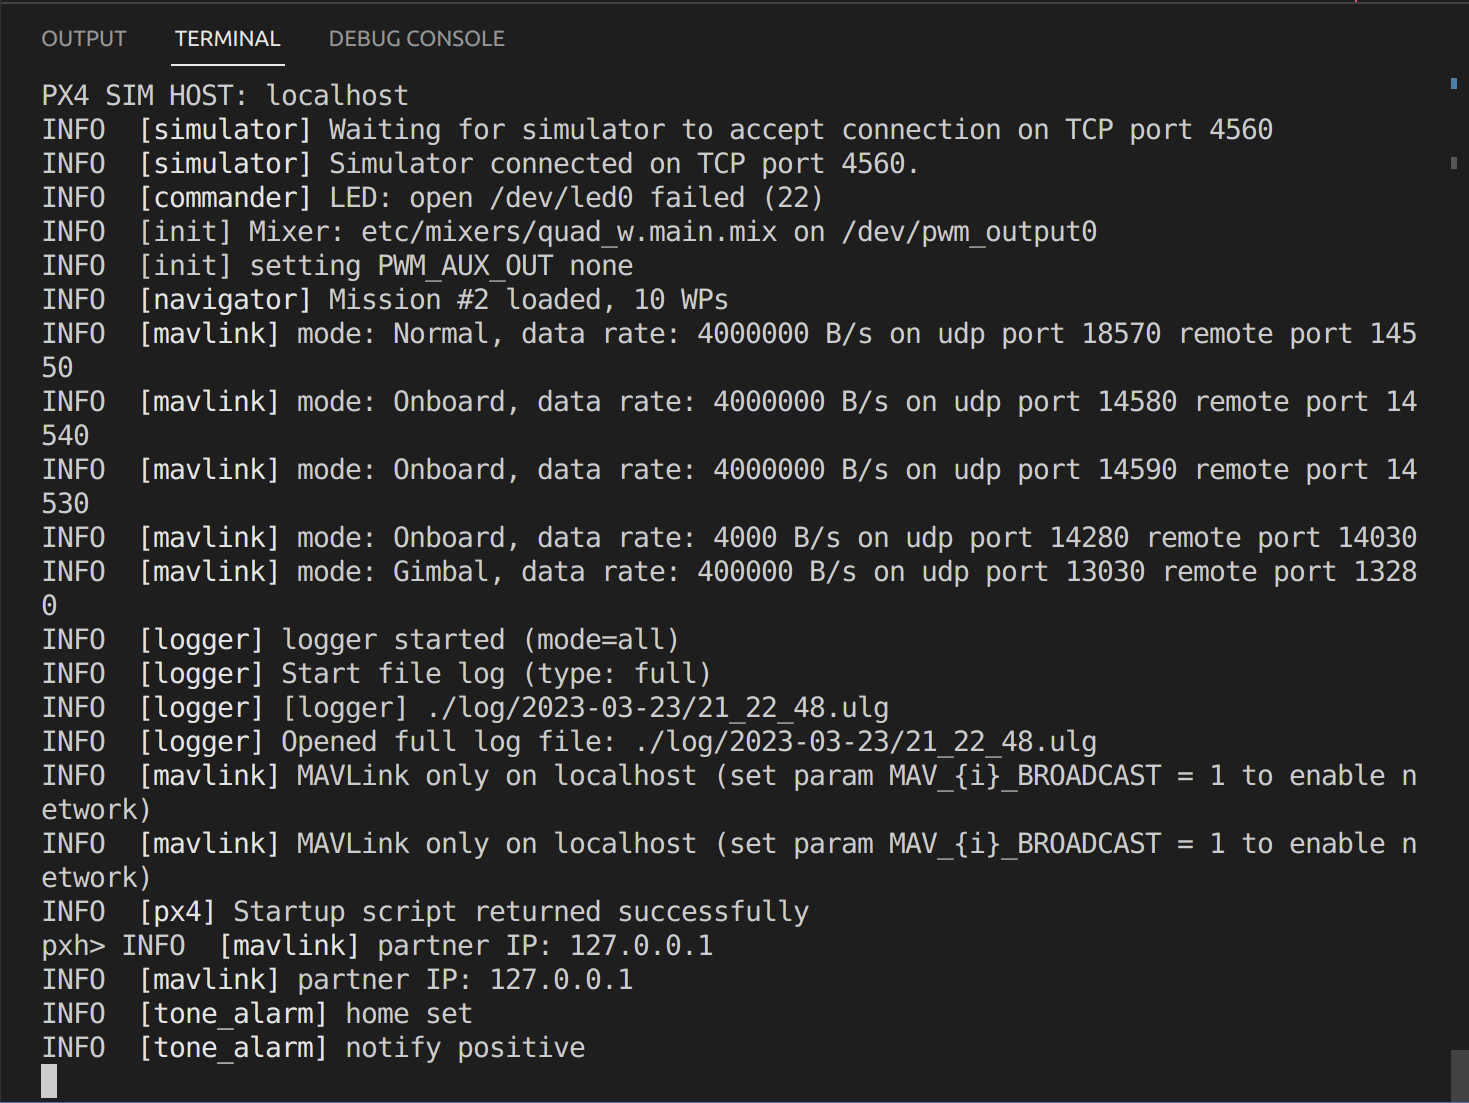
Next, start the PX4 Simulator using your method of choice. Once the Simulator has started, you will see the following output in the PX4 console.
Step 7
You can visualize the simulator ouptut by starting your favorite Web Browser and typing in "127.0.0.1" as the URL. You will see a gray screen, like below. Click on the screen to start the visualization.
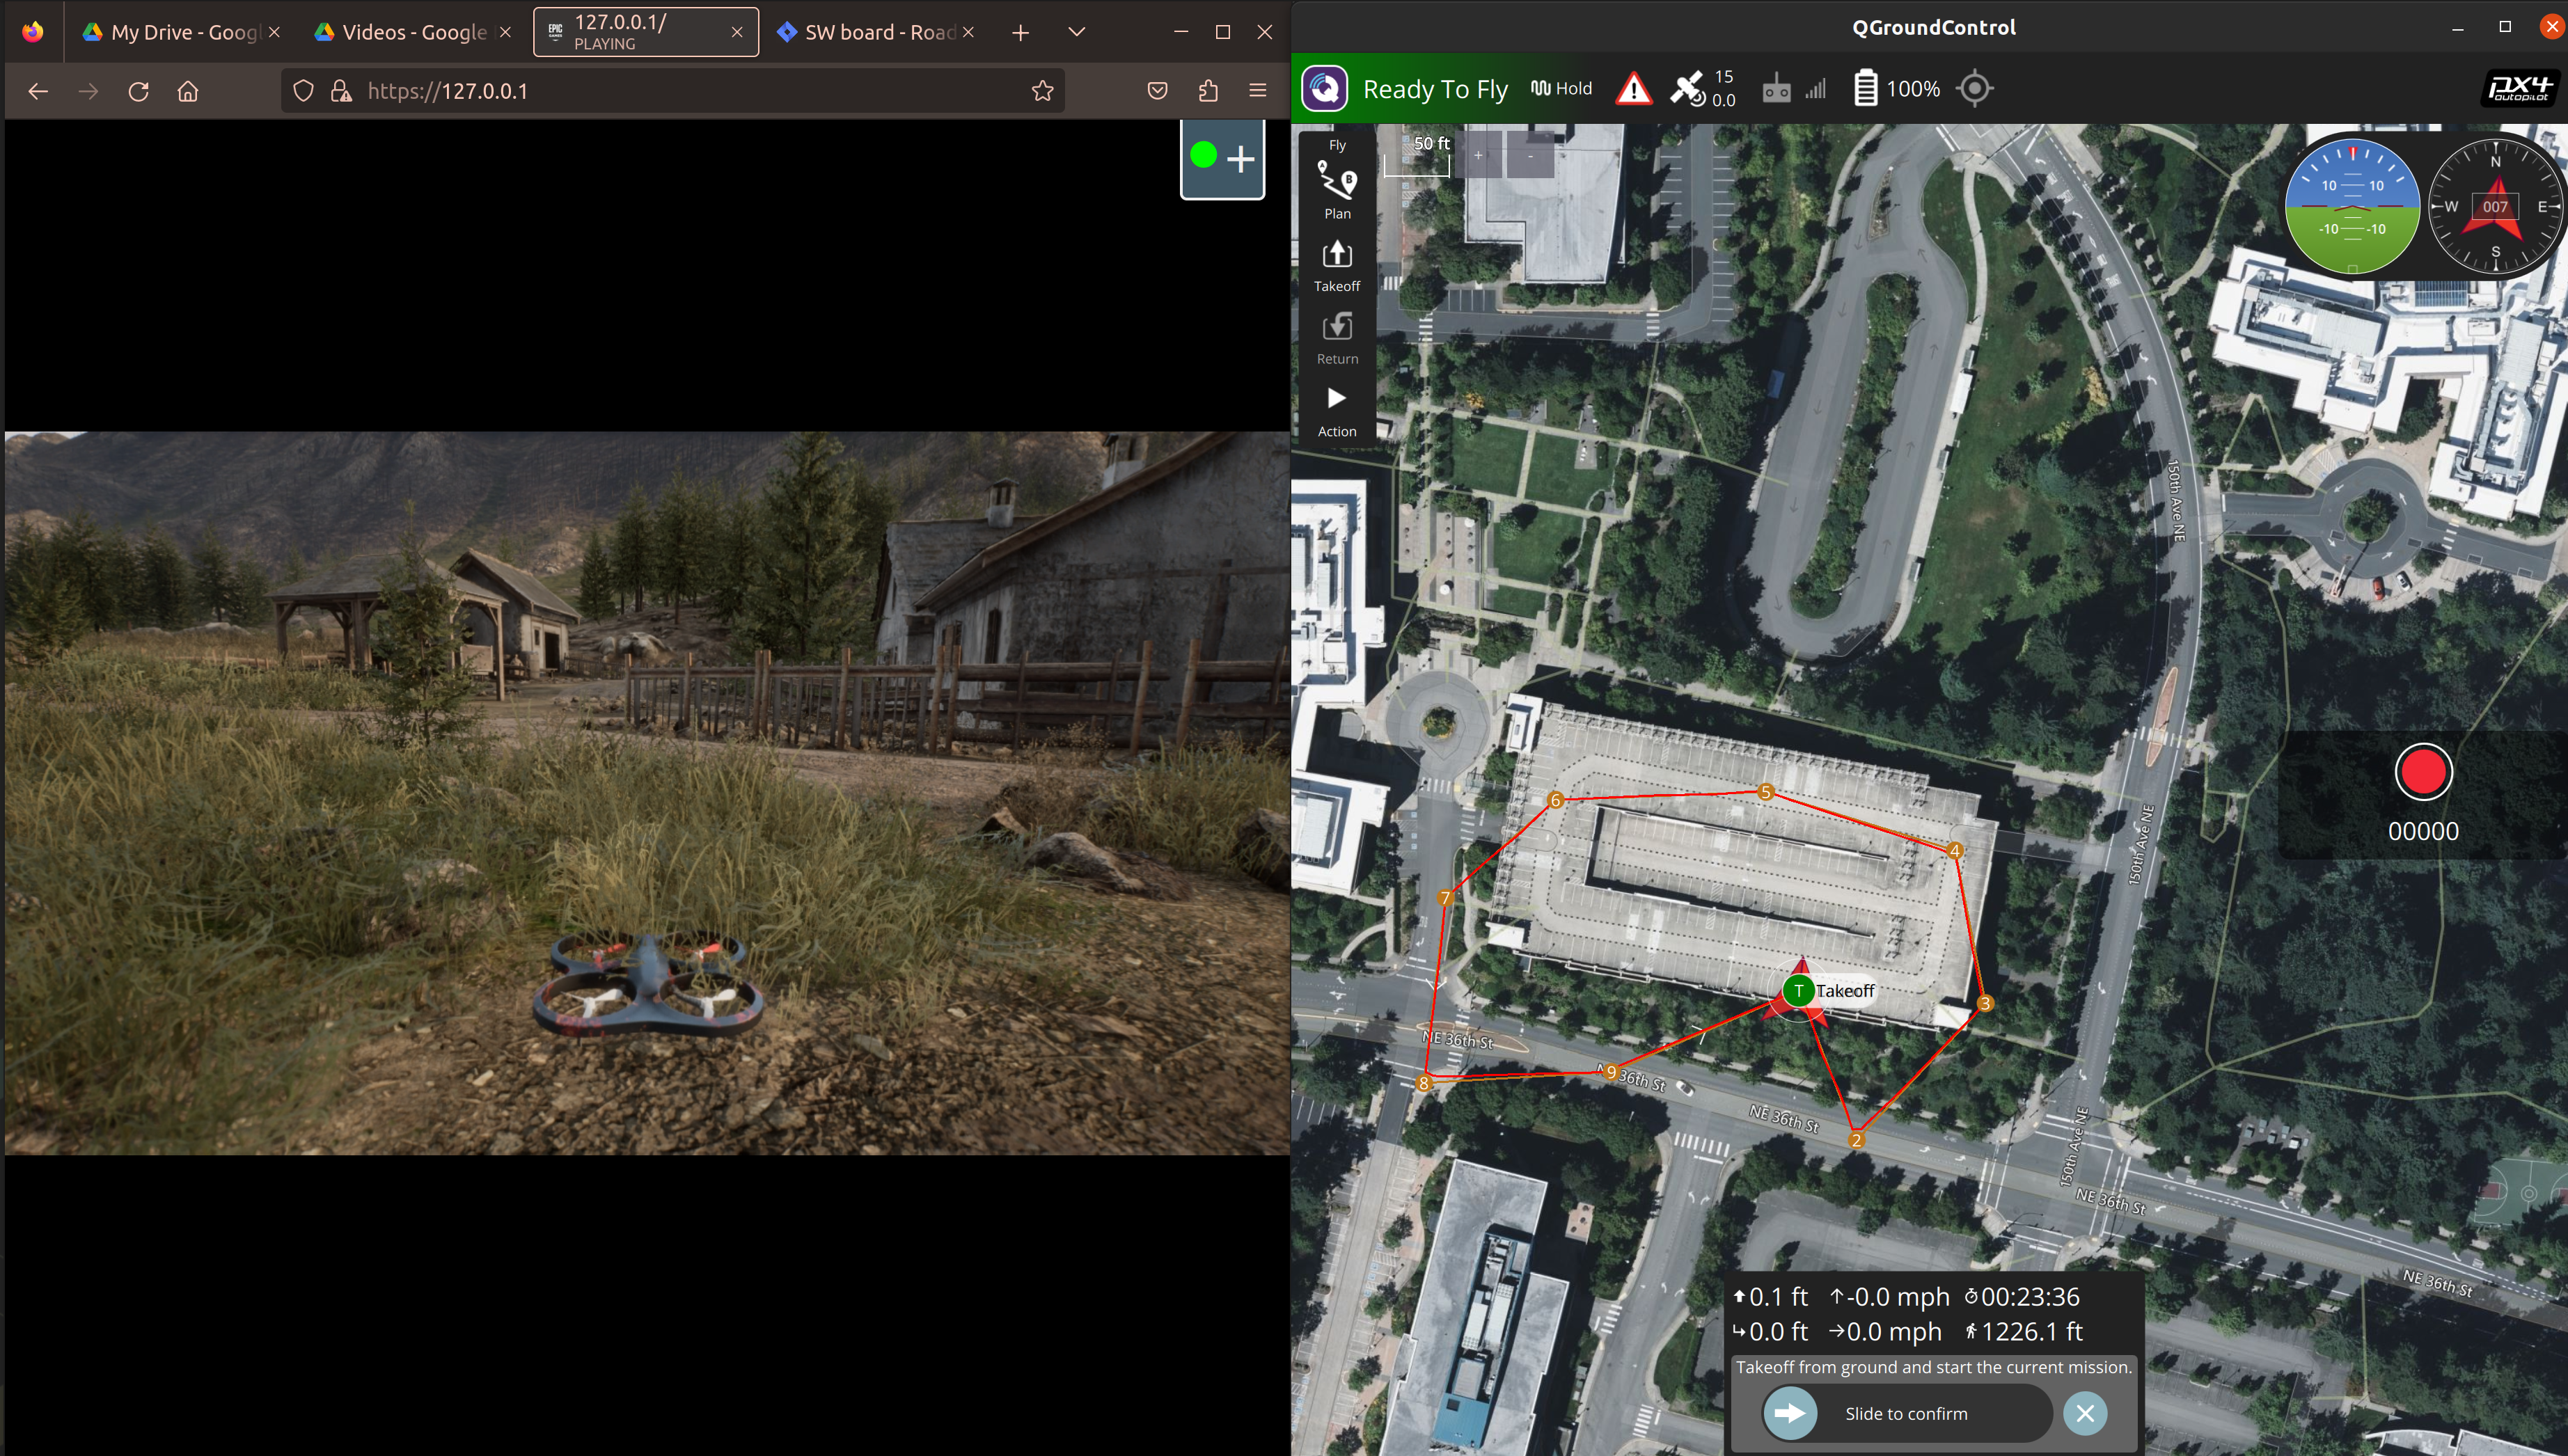
There are a number of options to control the environment, depending on which environment is available to you. You can check those out here: Environment Control.
Step 8
Now, you can control the agent through your normal methods, whether MavROS or your own custom software connected to PX4. We will put together a "Using ROS" tutorial that showcases how you can use ROS to control the agent.
Walkthrough
Here is a short walkthrough on how to go about setting up the PX4 SITL.